ELEKIT TU-8900 or how to build a tube amplifier – part 4
Before we get into the specifics of mechanical assembly, I need to say one important thing. Remember that the kit is designed and manufactured in such a way that all the components should fit together. If at any point you notice that something doesn’t seem to fit—for example, a screw hole isn’t where it should be, a board doesn’t align properly, or something just won’t go in place—don’t use force, use your head. Almost certainly, it means you’ve made a mistake or forgotten something. At no point during the assembly should you need to use a hammer (well, there is one moment, but it’s clearly noted in the instructions :)) or bend anything to make it fit. Instead, carefully check what’s preventing proper alignment or fitting, and fix it accordingly.
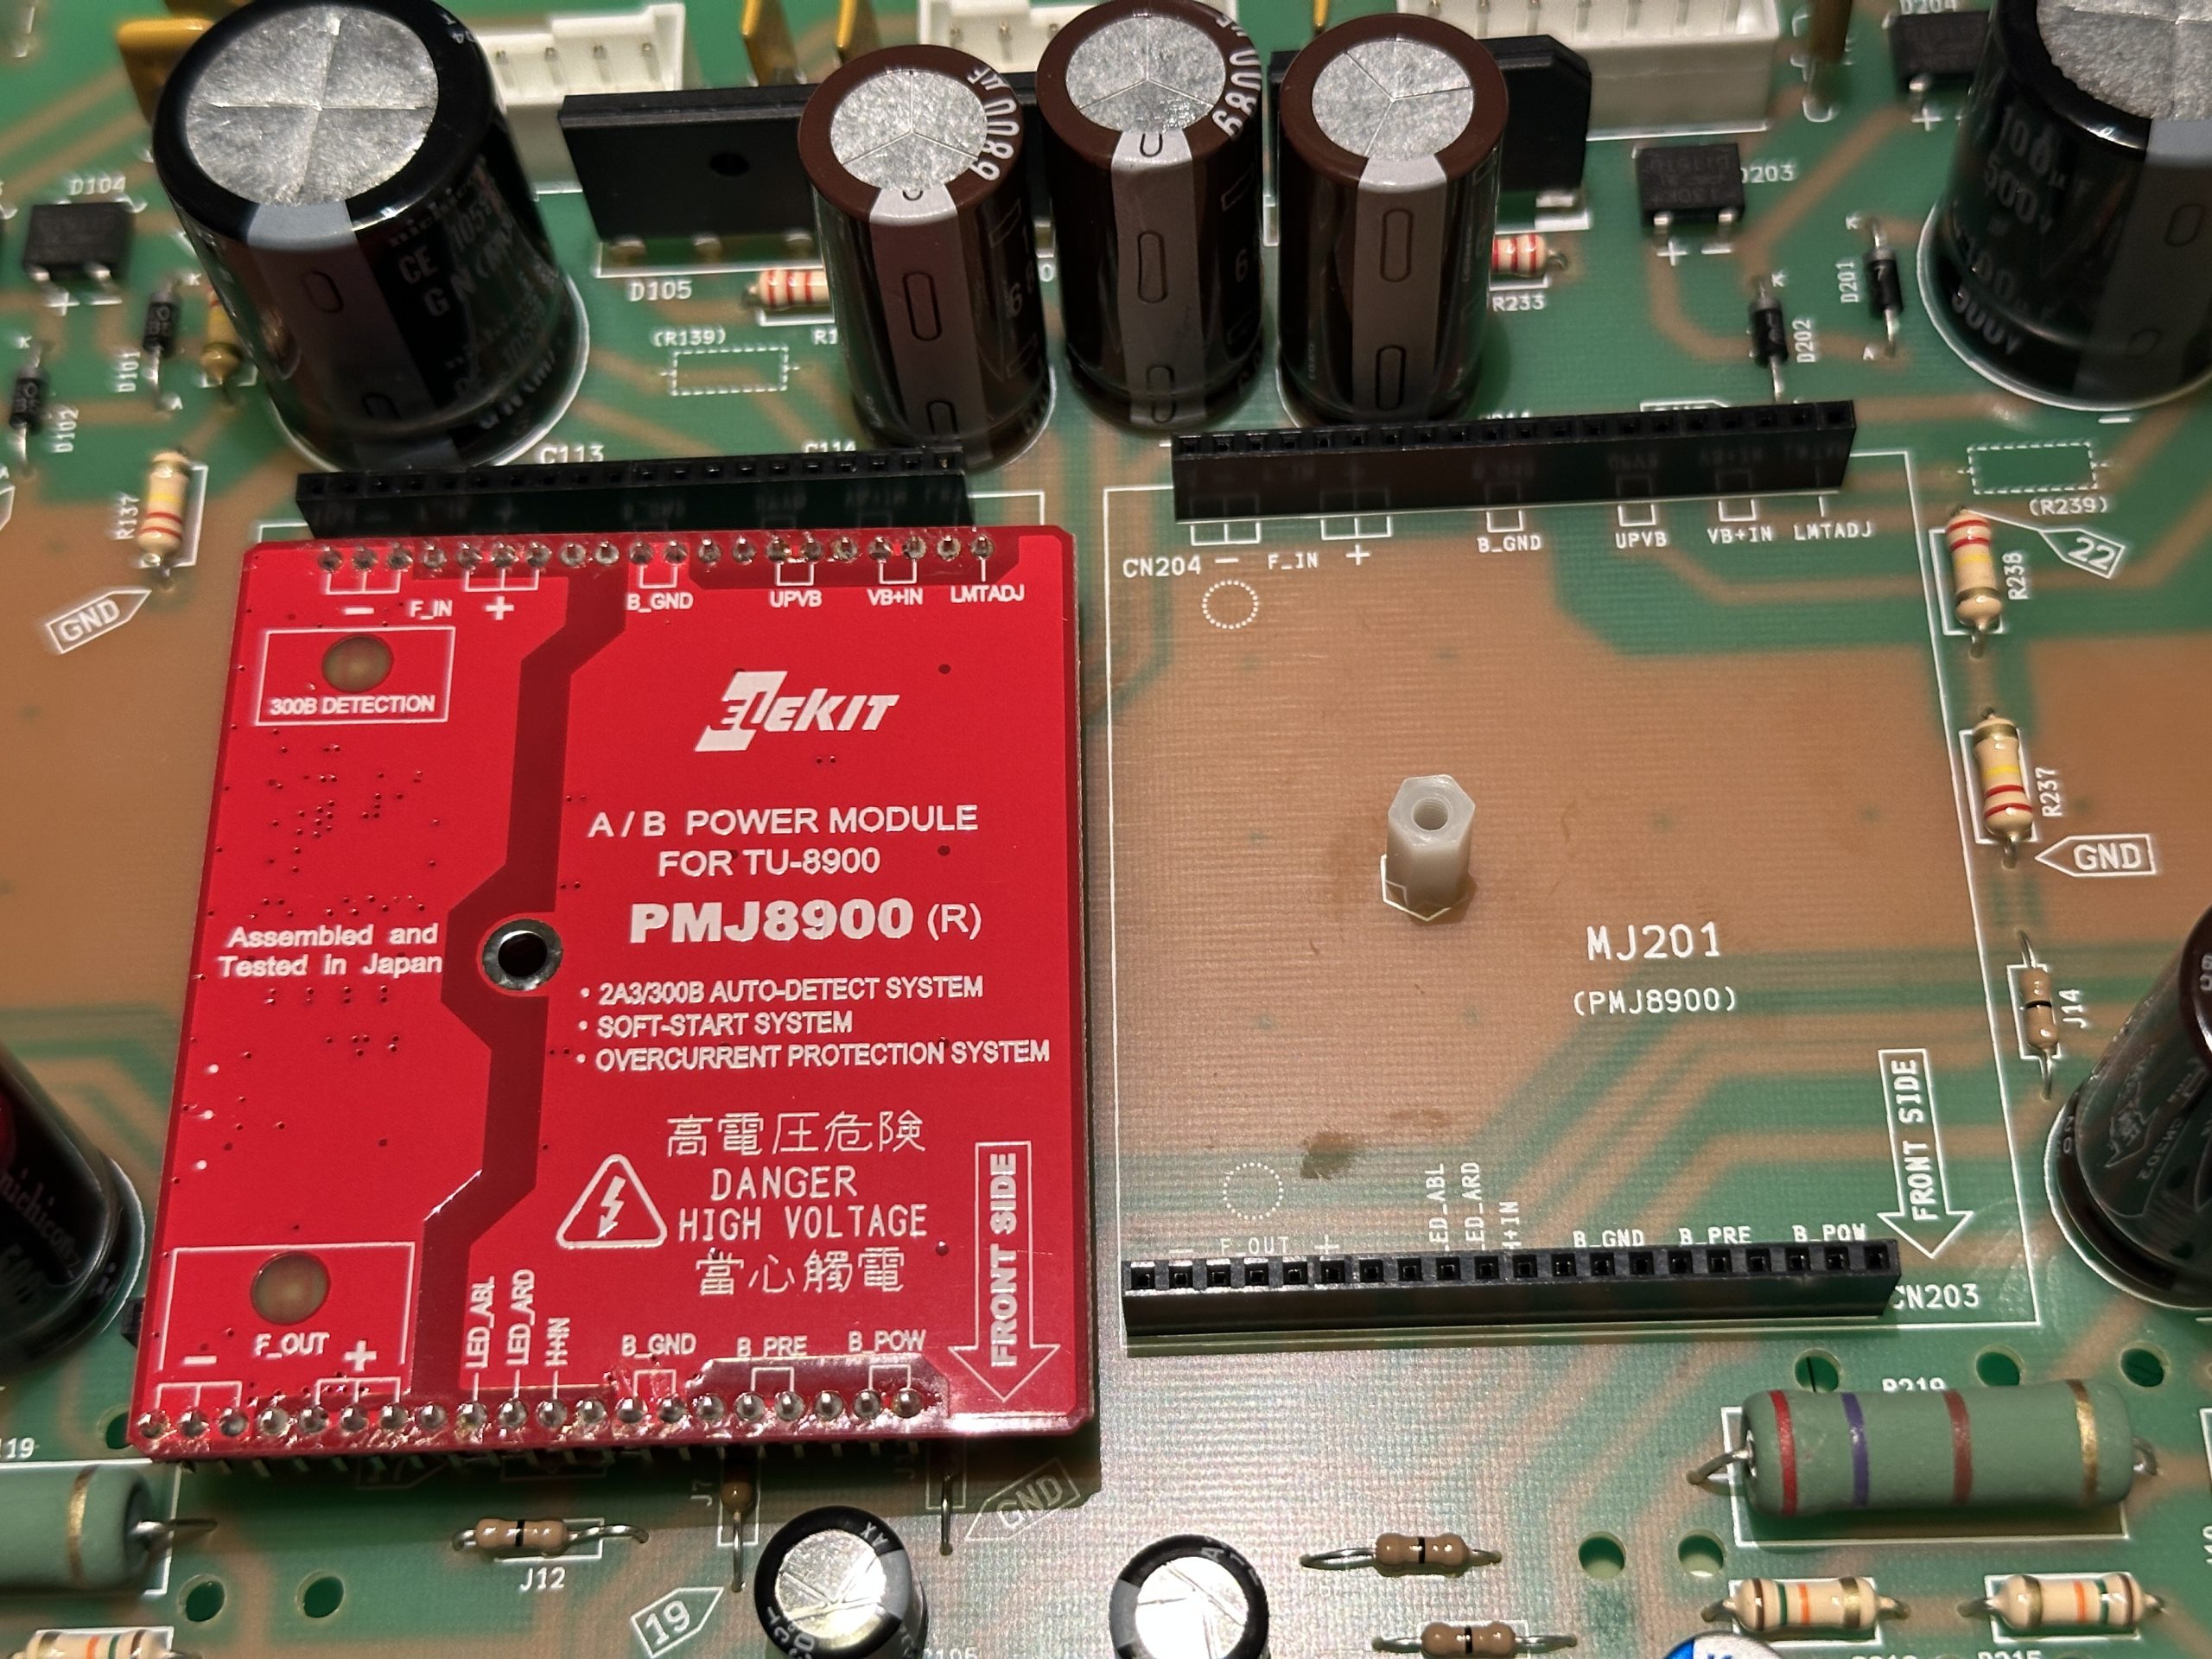
We start by inserting the A/B modules for power supply and power tube detection. It’s a simple task—just insert them into the sockets and secure them from the top with an M3 screw. Just make sure all the pins are going into their proper places. That said, if you insert the modules incorrectly, you won’t be able to screw them in anyway 🙂 The arrow on the module points to the front of the amplifier.
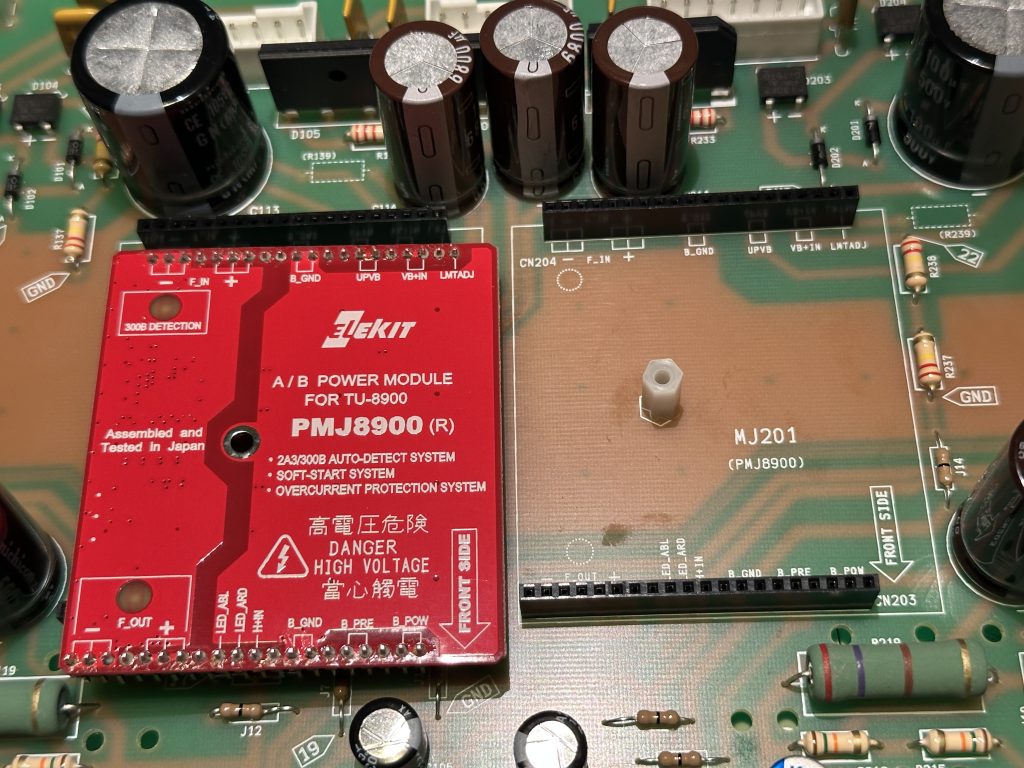
The A/B module before being inserted into place.
These modules are responsible for matching the power supply to the tube you’re using (either 300B or 2A3) and providing a “soft start” to extend the lifespan of your expensive tubes. Additionally, in the event of a failure, they protect the other amplifier components from potential damage. The modules are made with SMD components, which are surface-mounted and relatively difficult to assemble for an amateur. Therefore, they are pre-assembled at the factory and only need to be inserted into their designated positions.
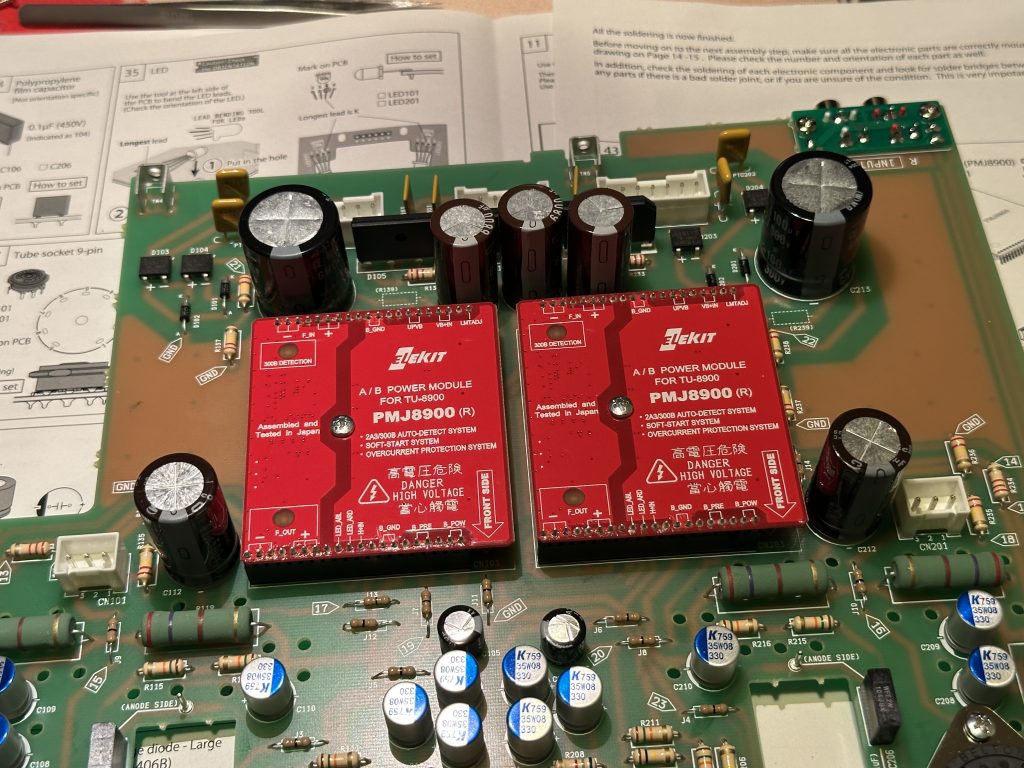
The A/B modules installed in place.
Now comes a bit of balancing, as we need to align several components at the same time. Place the UNIT-1 board onto the previously assembled UNIT-4 + UNIT-5 module as shown in the picture, and take a close look at the assembly diagram. As you can see, you need to align the goldpin header from the UNIT-4 module with the holes in the UNIT-1 board, near the cutout for the potentiometer, while simultaneously fitting the tabs on the back of the board into the corresponding holes in the UNIT-5 module. Once both boards are aligned, secure them together with two M3 screws at the back, on the UNIT-5 side, and one M3 screw on top—the screw hole is near the location for the large coupling capacitor.
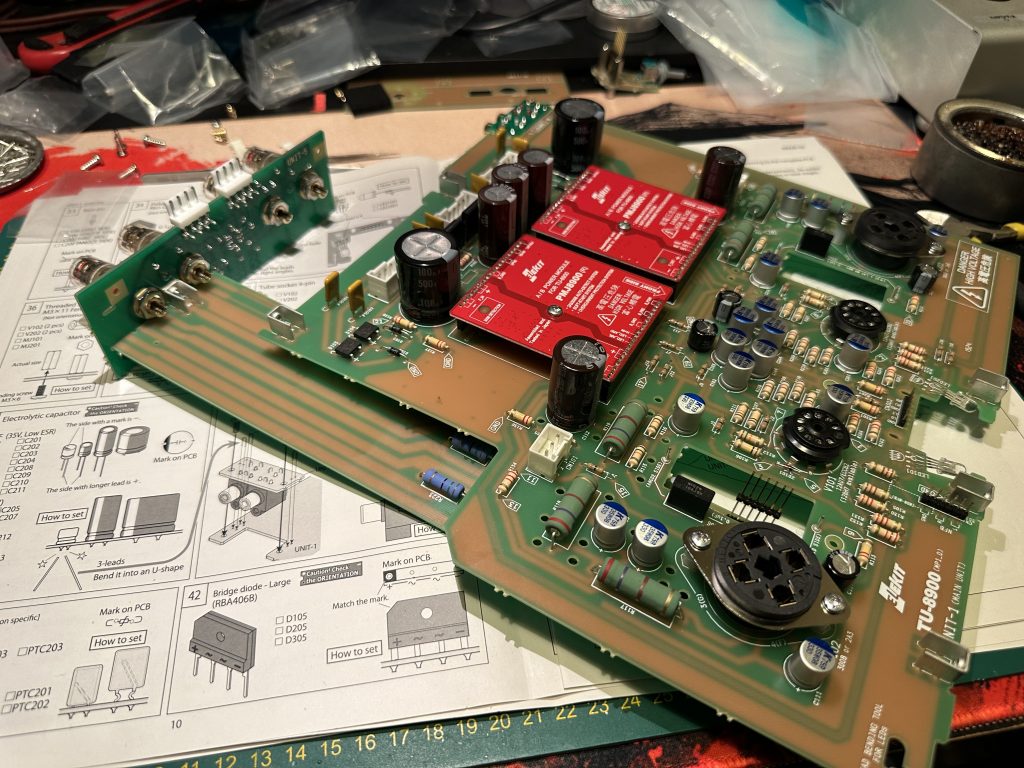
Fitting the boards together.
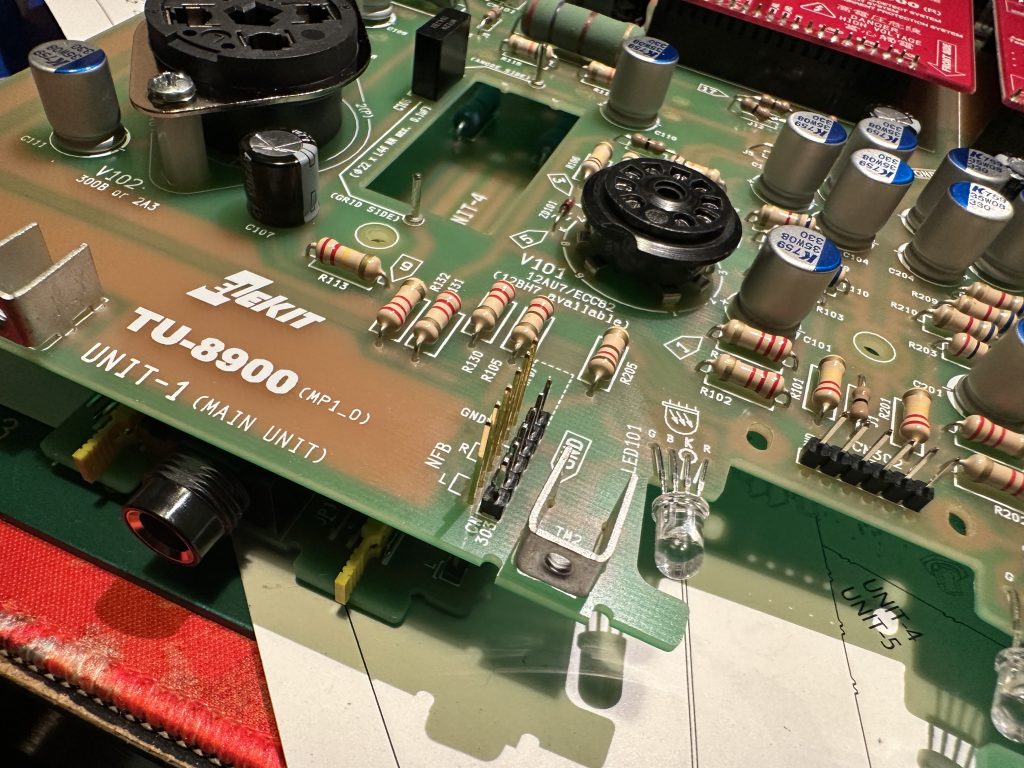
The goldpin header pins coming through the holes in the UNIT-1 board.
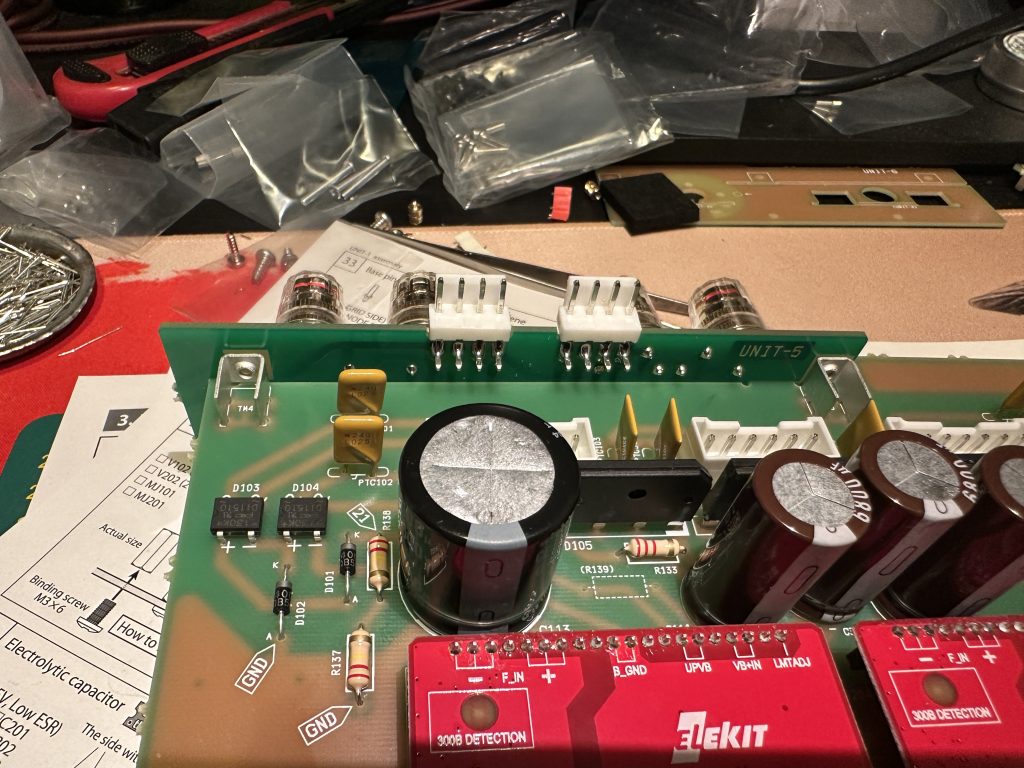
Fitting the boards together at the rear part.
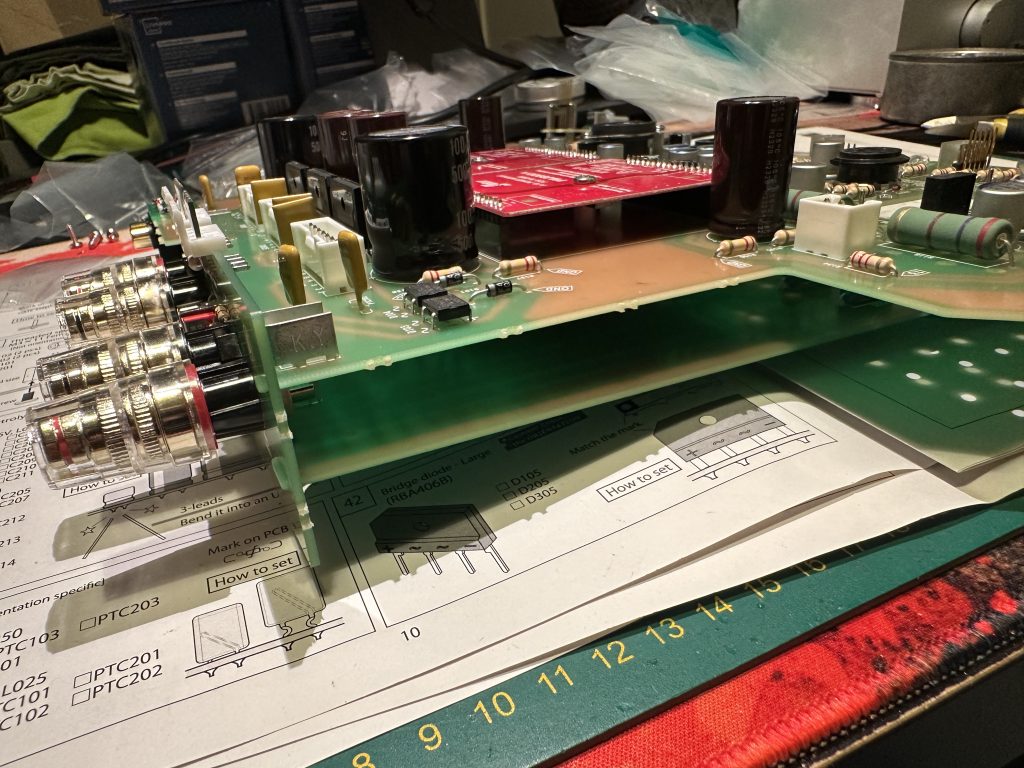
Side view of the board connection.
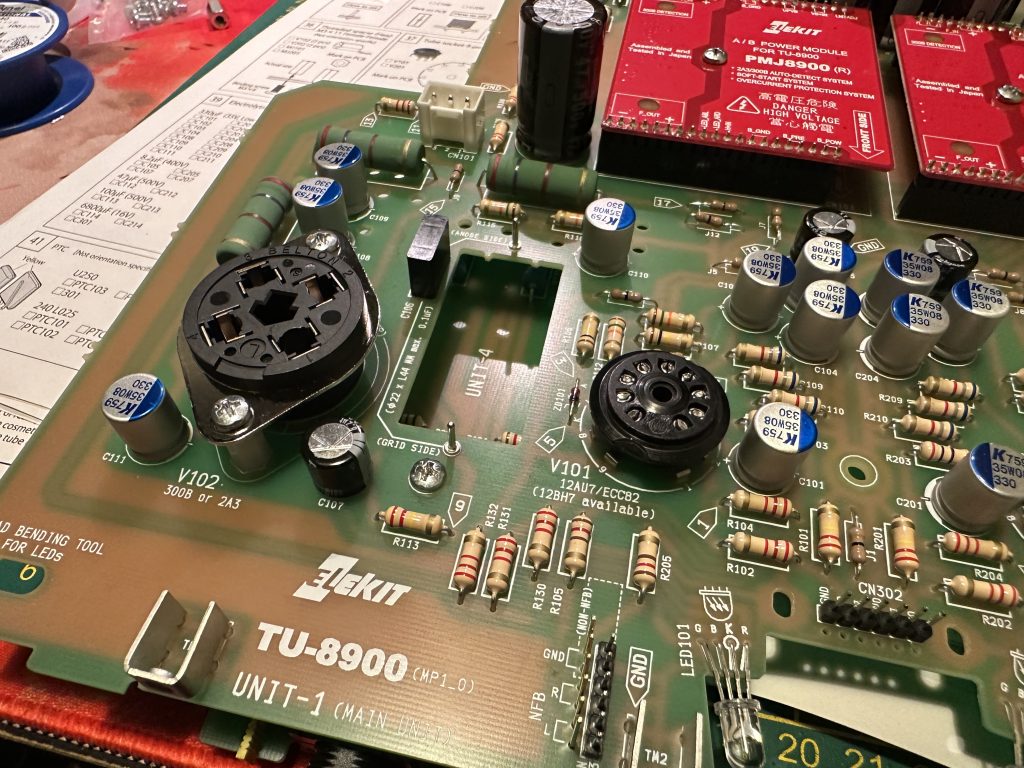
If everything goes well, you should see the “UNIT-4” label through the hole for the capacitor.
Insert the potentiometer board from the bottom, ensuring that the pin header goes through the corresponding holes. Secure it with M3 screws, but tighten them lightly for now—we’ll tighten them more later.
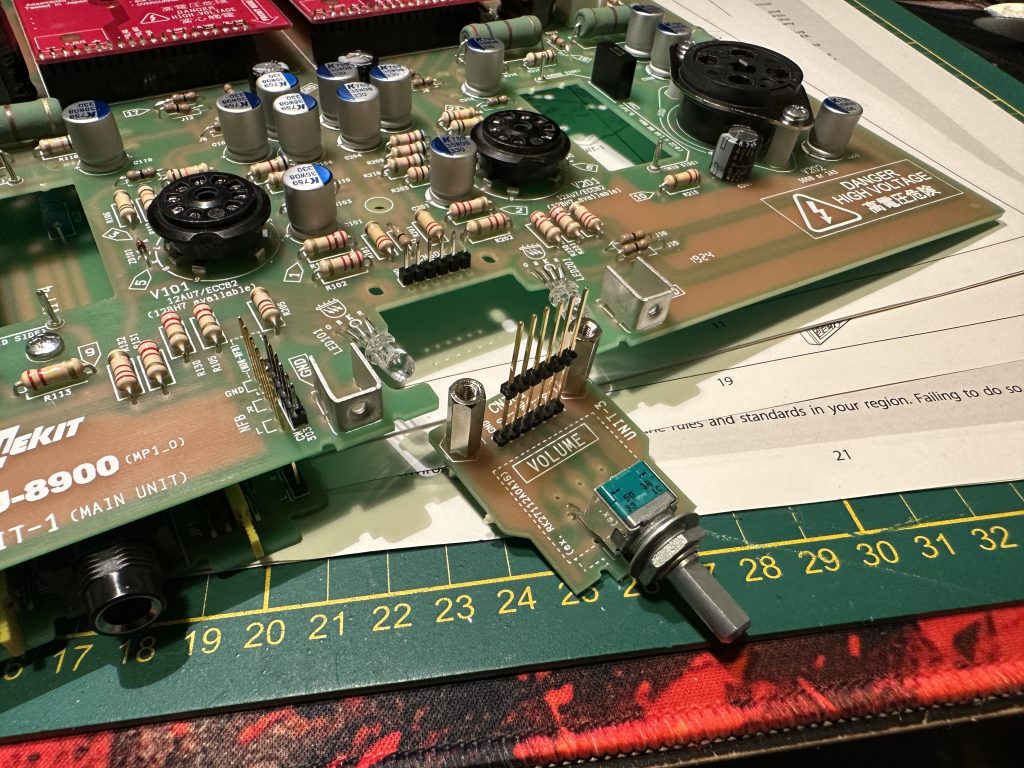
Fitting the potentiometer board for assembly.
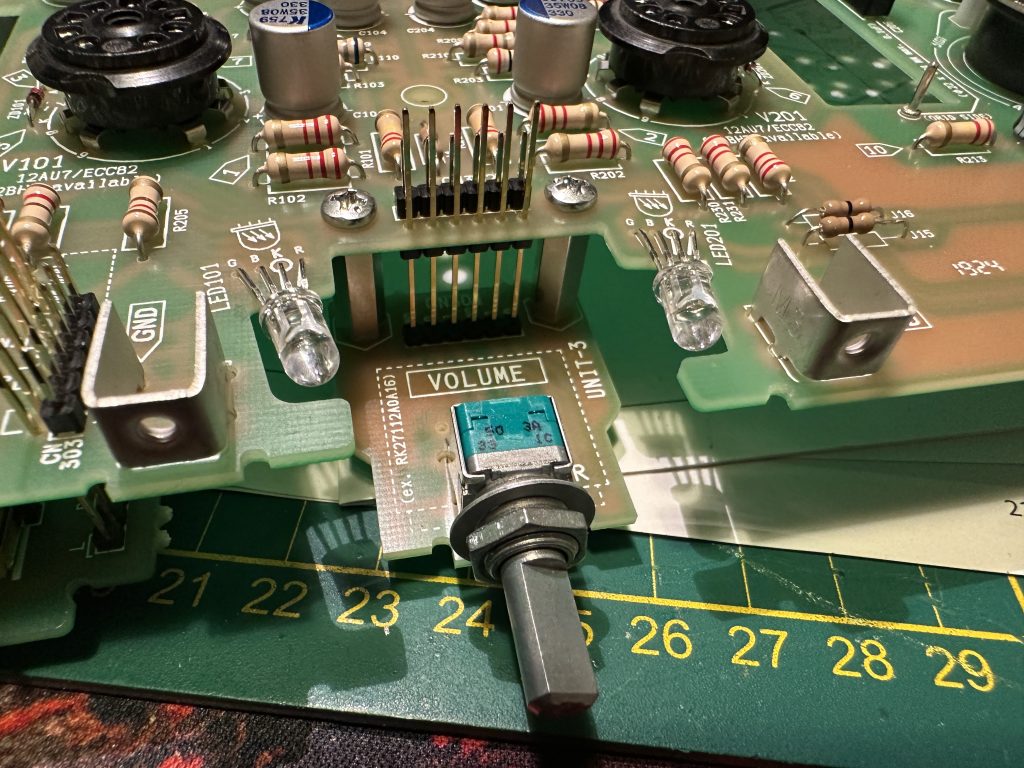
The potentiometer board mounted in place.
From the front, we attach the UNIT-6 board. Thanks to the loosely tightened potentiometer board, this will be easier to do.
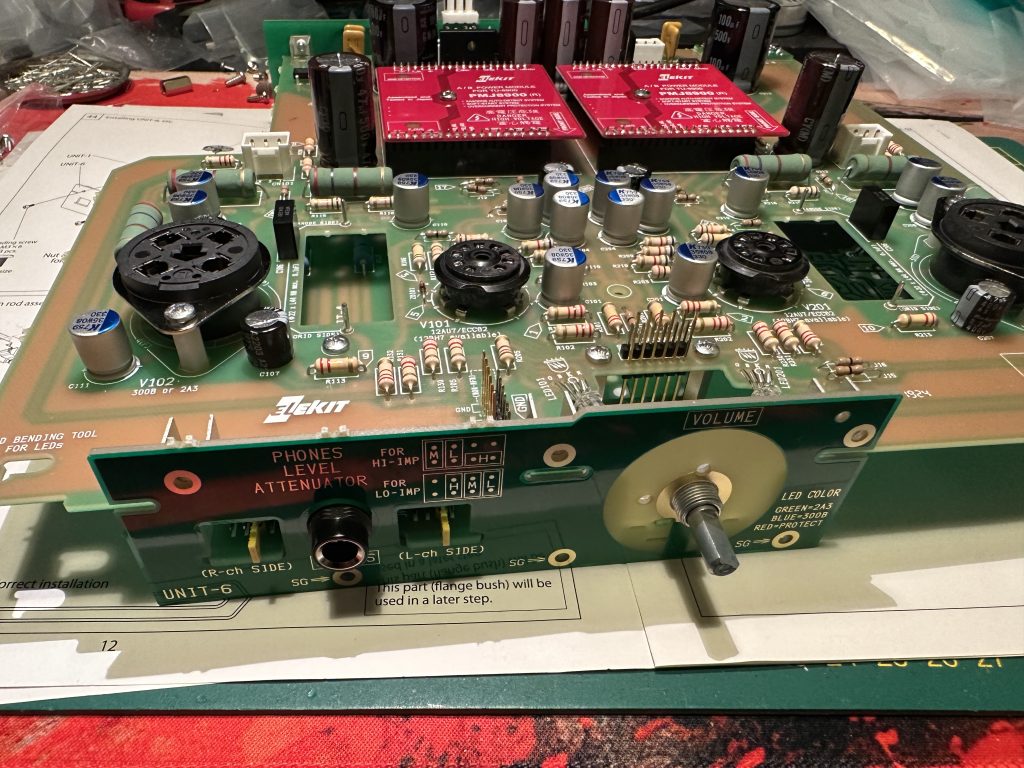
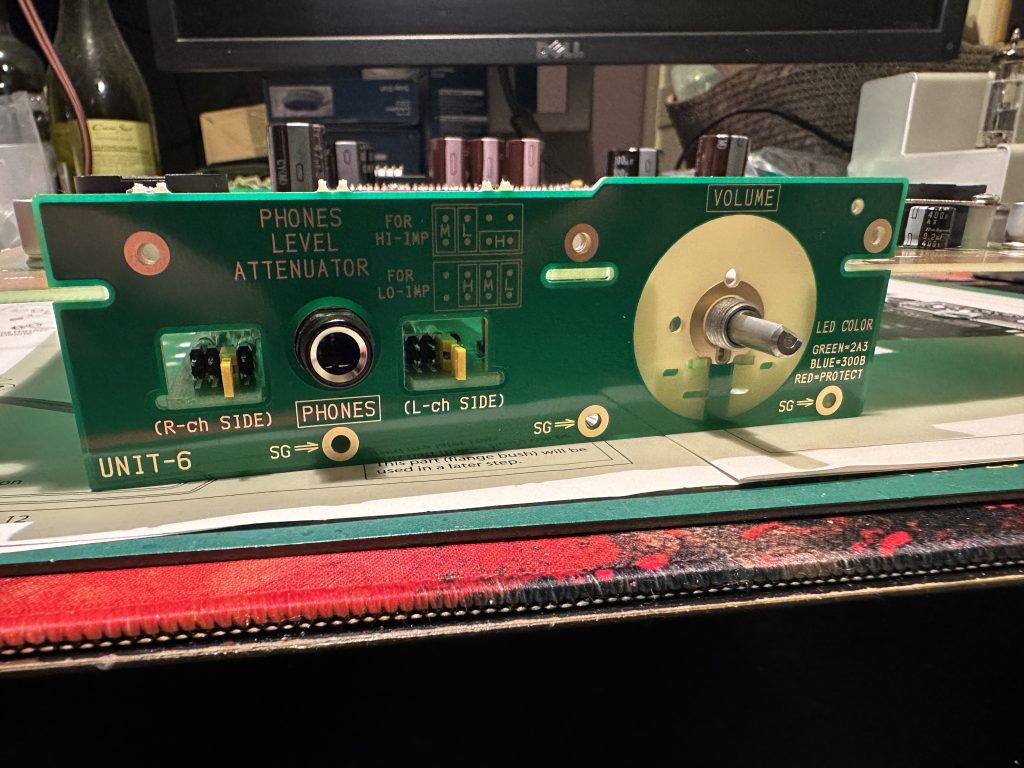
Now, secure the UNIT-6 board to the UNIT-1 board with M3 screws. Only after that, attach the potentiometer shaft to the front panel with the appropriate nut. You know where you left it, right? Once the nut is tightened, you can also tighten the previously loose screws holding the potentiometer board in place.
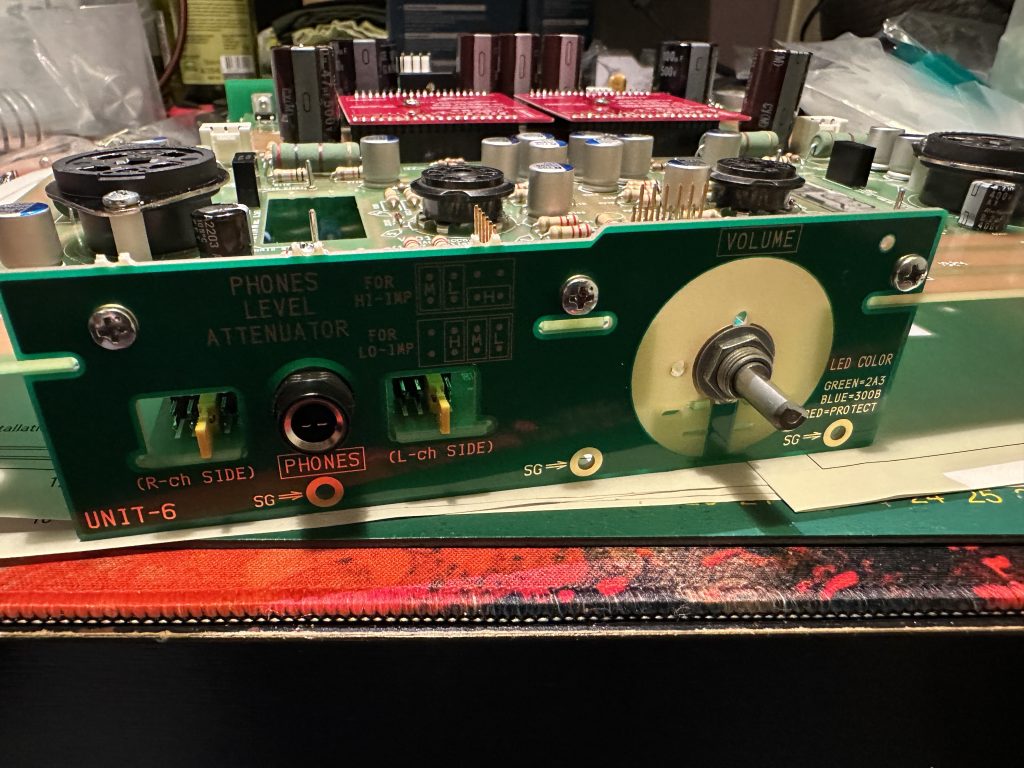
On the UNIT-6 board, you’ll find instructions for setting jumpers that control one of the three (LO-MID-HIGH) headphone volume levels, depending on your preferences and the type of headphones you’re using (low or high impedance). If you’re unsure how to set them, choose LO-IMP and the MID option. By the way, you can still adjust the headphone volume normally using the amplifier’s potentiometer—this setting is intended to better match the amplifier to your headphones. It’s somewhat like selecting the impedance for speakers—such as 4 or 8 ohms—but the most noticeable effect will be the volume adjustment.
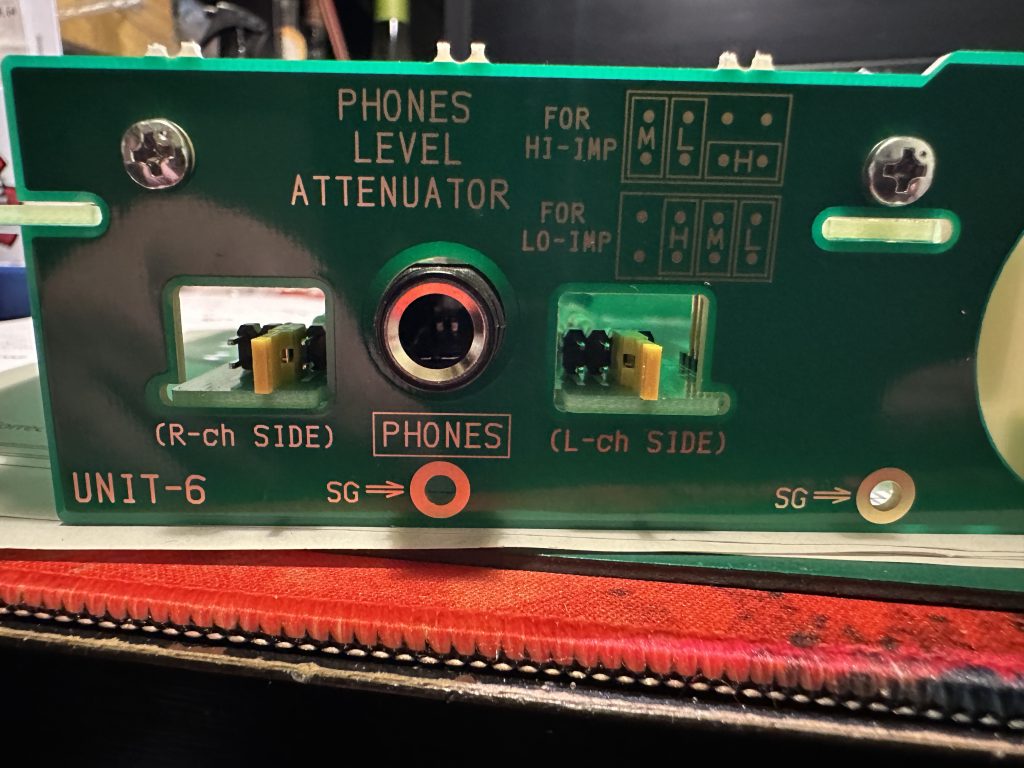
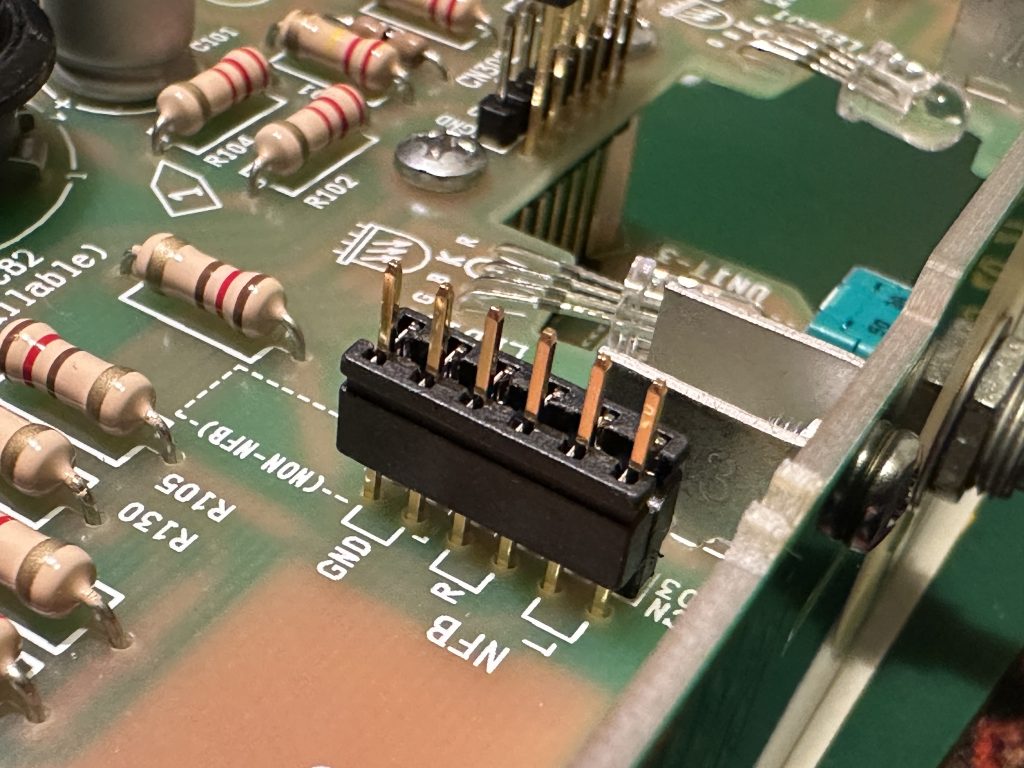
Now, we install the long jumpers onto the sets of pins for the feedback loop (NFB) and the potentiometer. The jumpers fit quite tightly, and their installation isn’t super easy, but it can be done 🙂 In the future, if you want to test the amplifier’s sound without the feedback loop (NFB), all you need to do is remove the long jumper or simply move it so that it only bridges the first pair of pins. The jumpers for the potentiometer will likely stay in place, so you won’t need to touch them again.
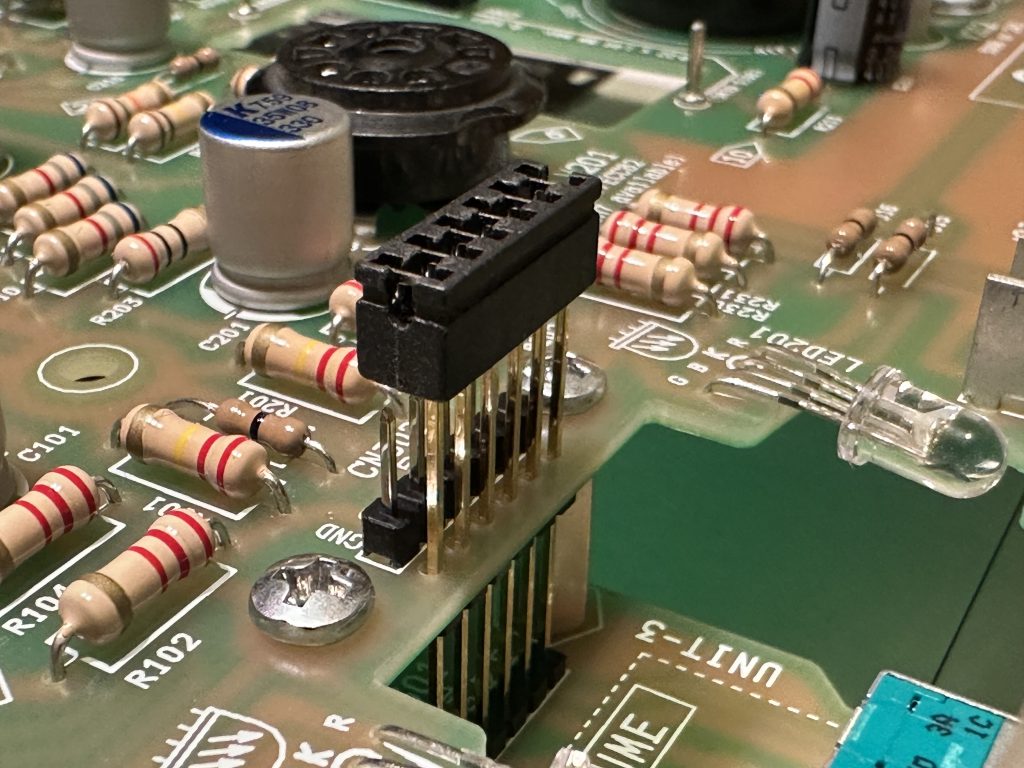
Now, install the limiters onto the power tube sockets—note that all the holes in the socket are the same size, but the limiter has front holes that are thicker than the rear ones. The tubes themselves have a front pair of pins that are thicker than the rear ones. This design ensures that the tube can’t be inserted the wrong way into the socket. The limiters are secured with clips, so you just need to snap them into place.
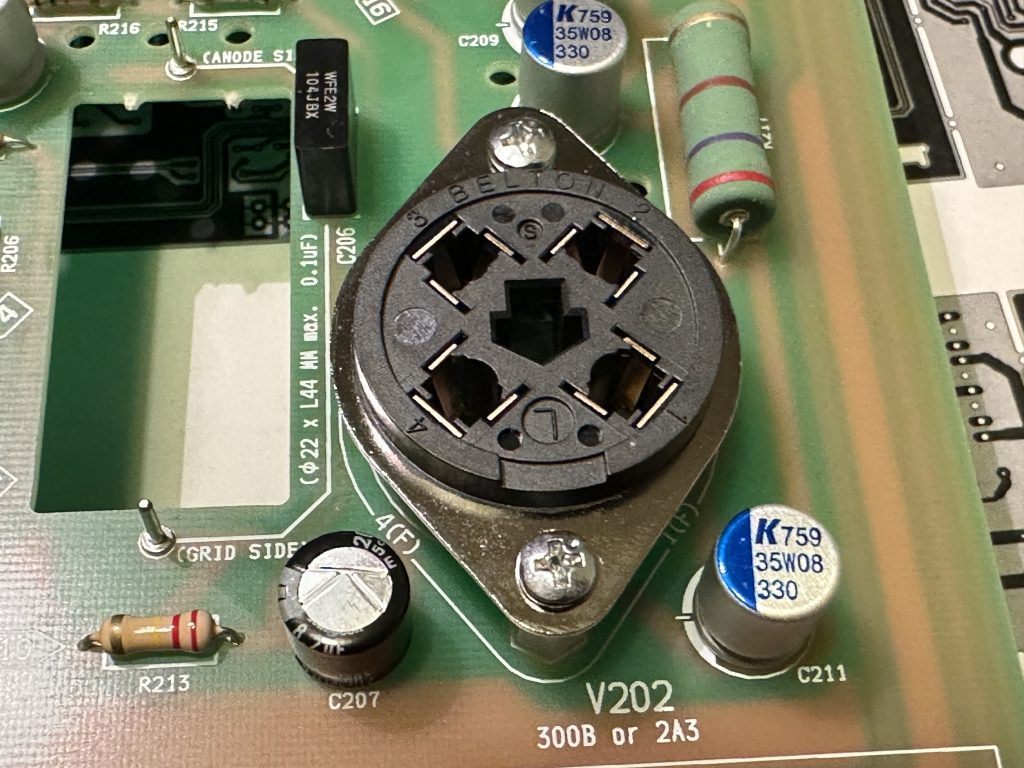
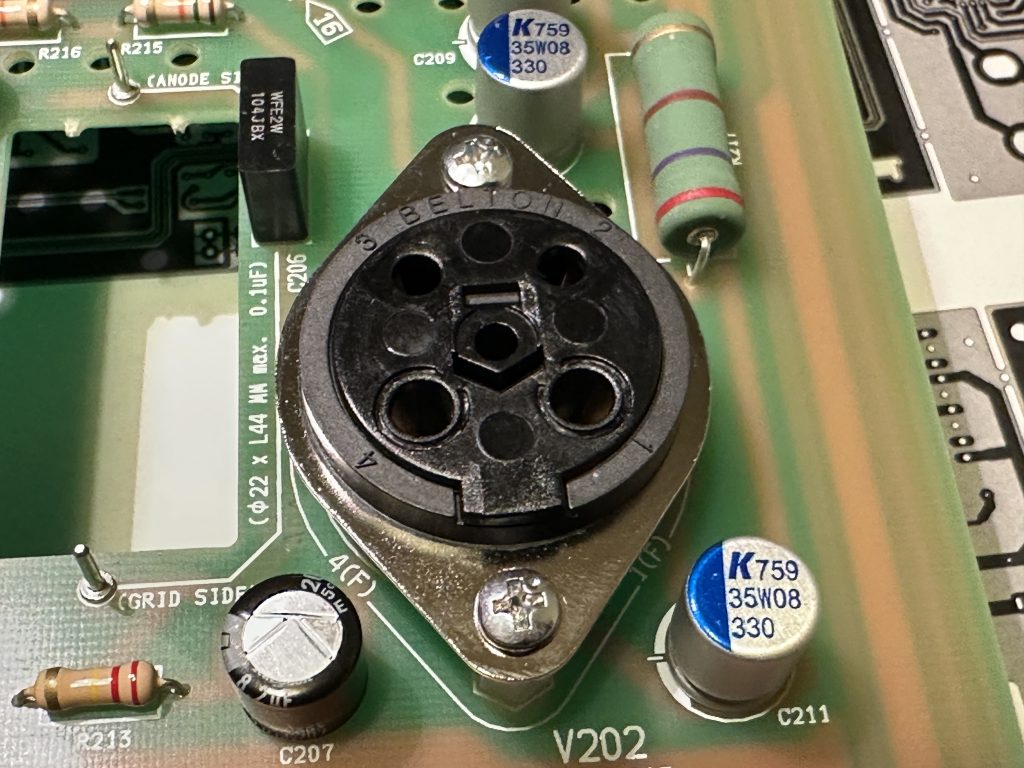
Power tube socket—on the left without the limiter, on the right with the limiter installed.
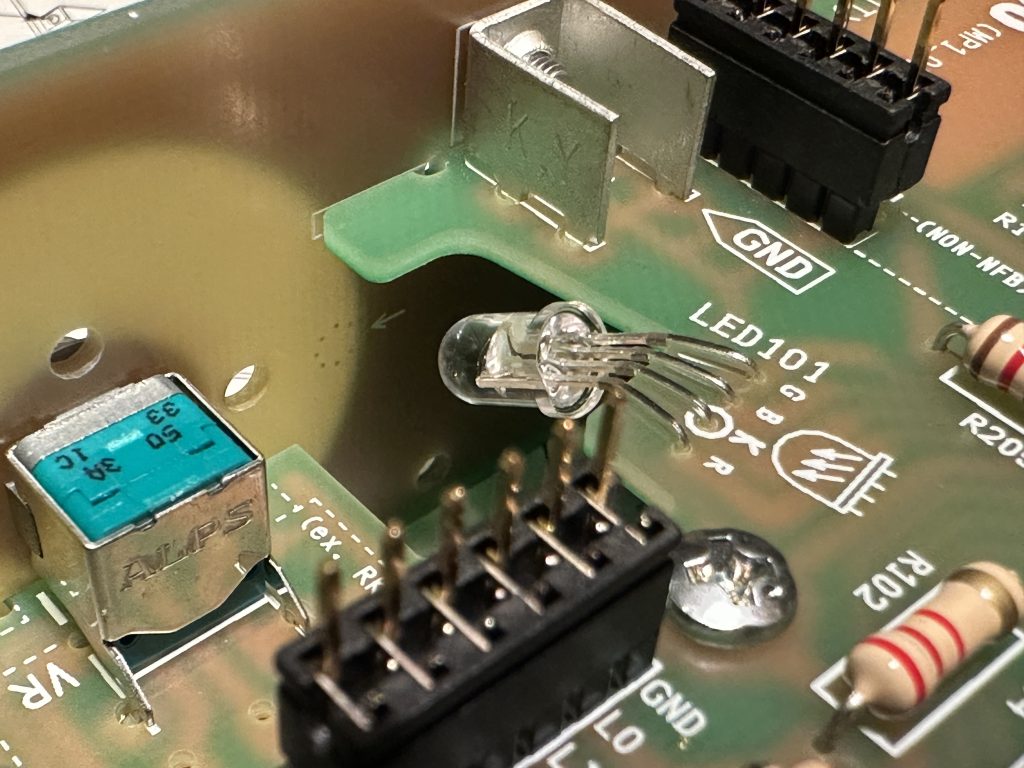
On the rear panel of the UNIT-6 board, there are dots and an arrow marking the spot where the LED should “point.” Gently bend the LED with your finger so that it aligns exactly with this marked area.
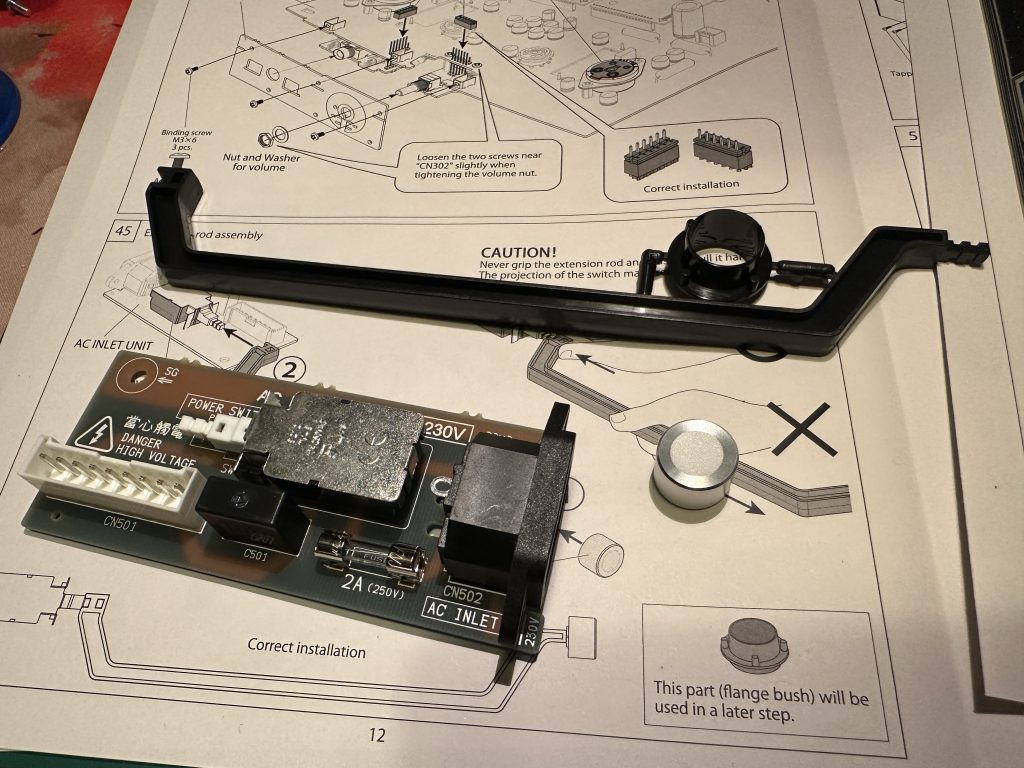
The long plastic part along with the sleeve and the button is the push rod for the power switch. You need to assemble it according to the diagrams and photos, then install it onto the switch’s end. Take a close look at how this part should look when fully assembled—the push rod must be pushed all the way to the end. Yes, you’ll need to apply a little force now, but as always, do it carefully to avoid damaging the switch. Press the silver button from the other side of the push rod, and then proceed with removing the case from the box.
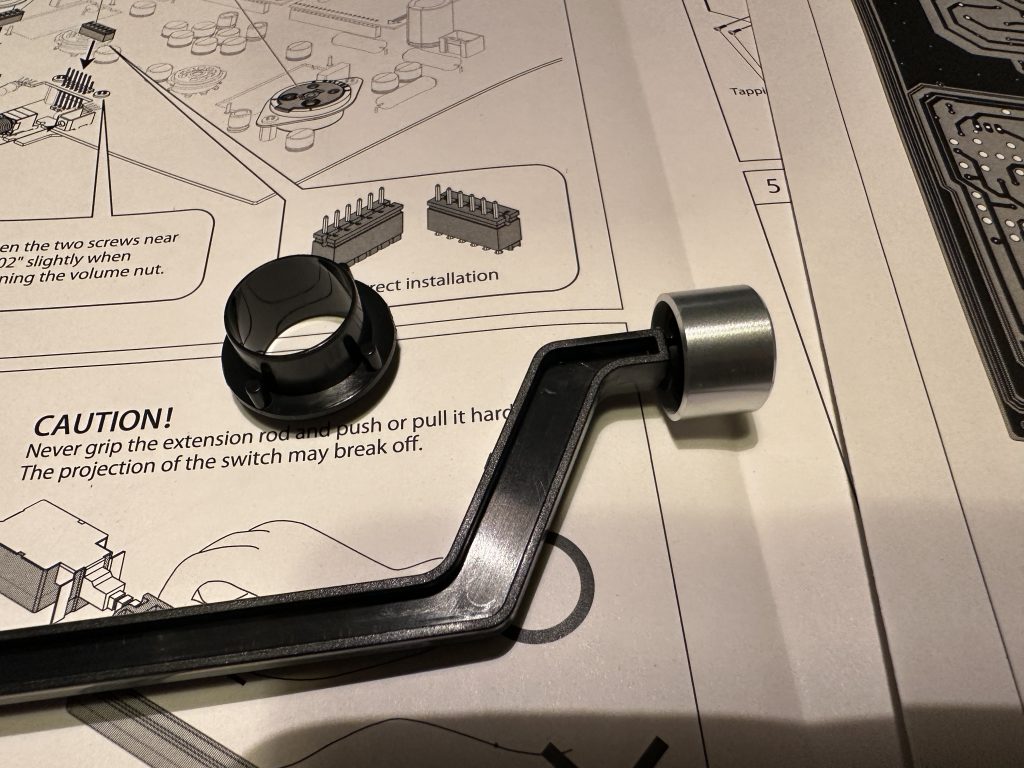
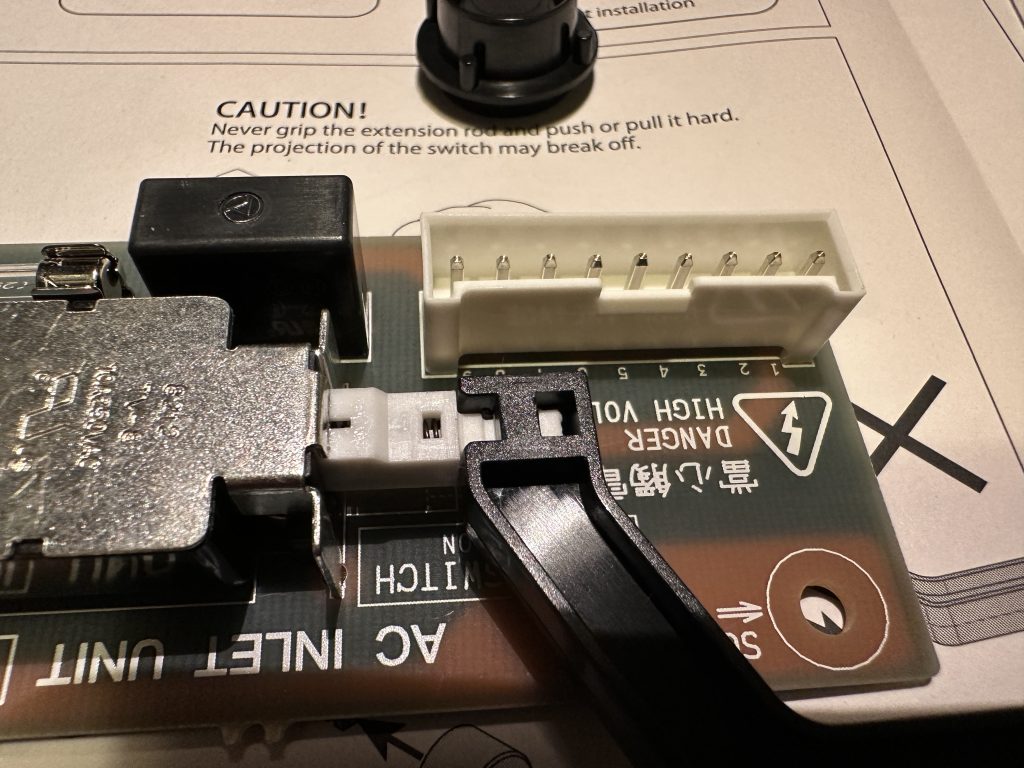
Assembly of the power switch push rod.
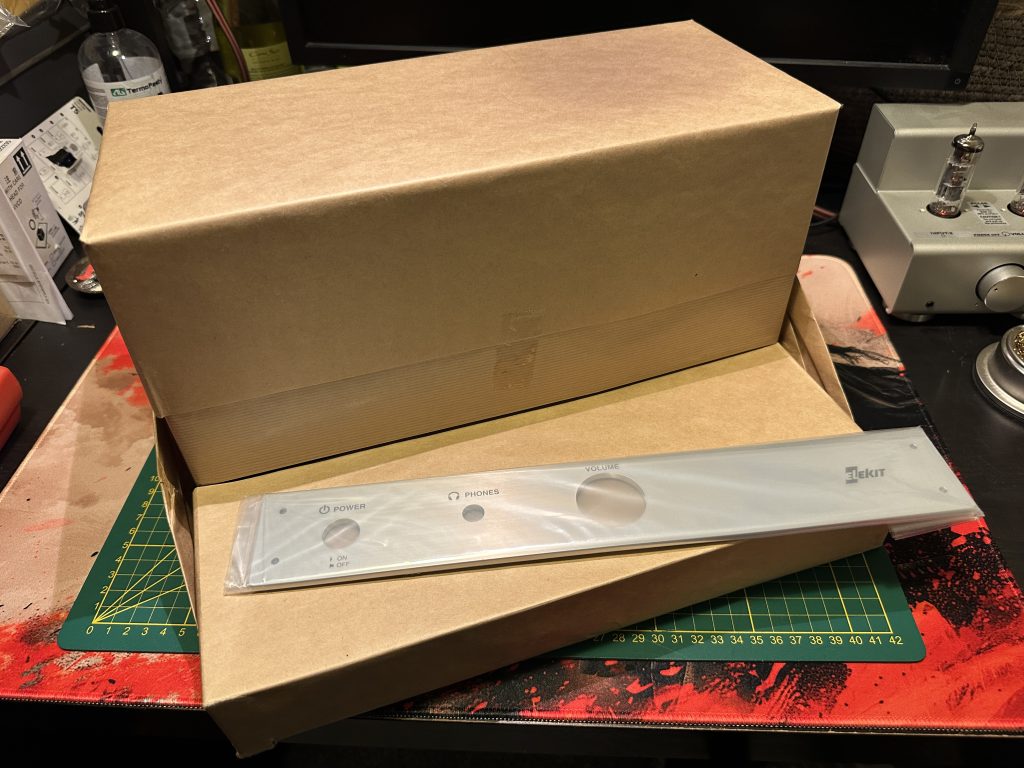
The enclosure with the front panel after being removed from the box.
The enclosure is delivered pre-assembled to prevent damage during transport. After removing it from the box, peel off the protective paper. Don’t use a knife for this, as underneath the thin paper is a lacquered metal surface that can easily get scratched. Unscrew all the silver screws from the enclosure—they won’t be needed anymore, as we’ll be using different screws to assemble the complete amplifier.
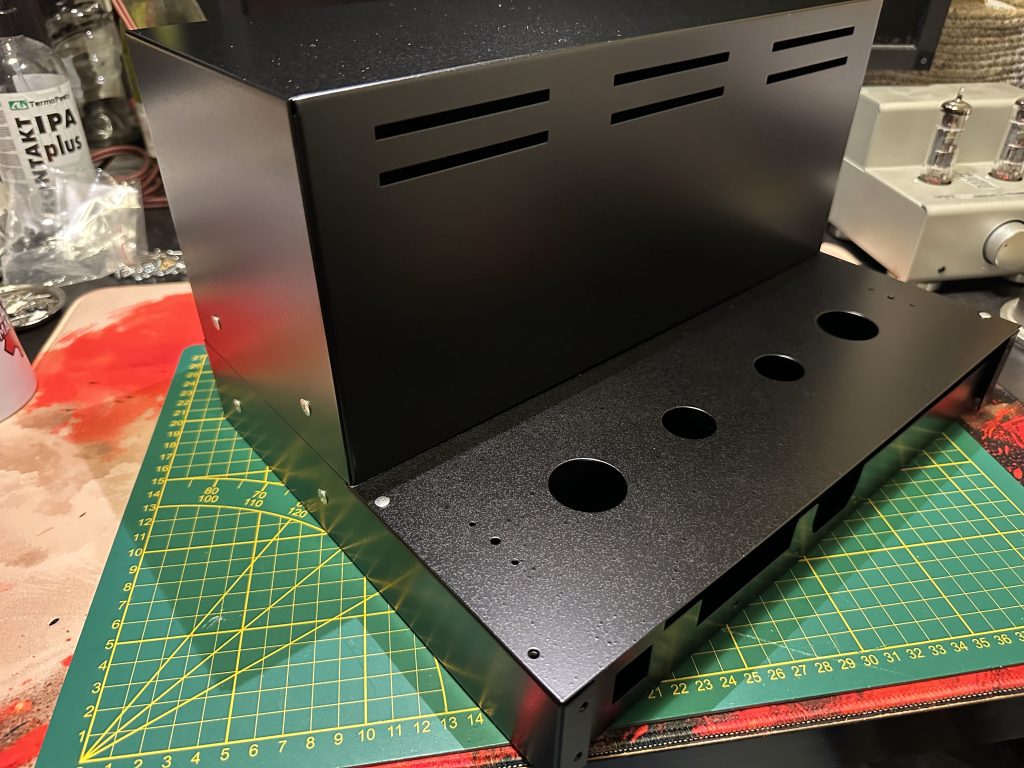
The enclosure after removing the protective paper.
First, we start with the base. We need to attach the four standoff posts to it—three longer M3 posts are secured with silver screws, and one short M4 post with a black screw.
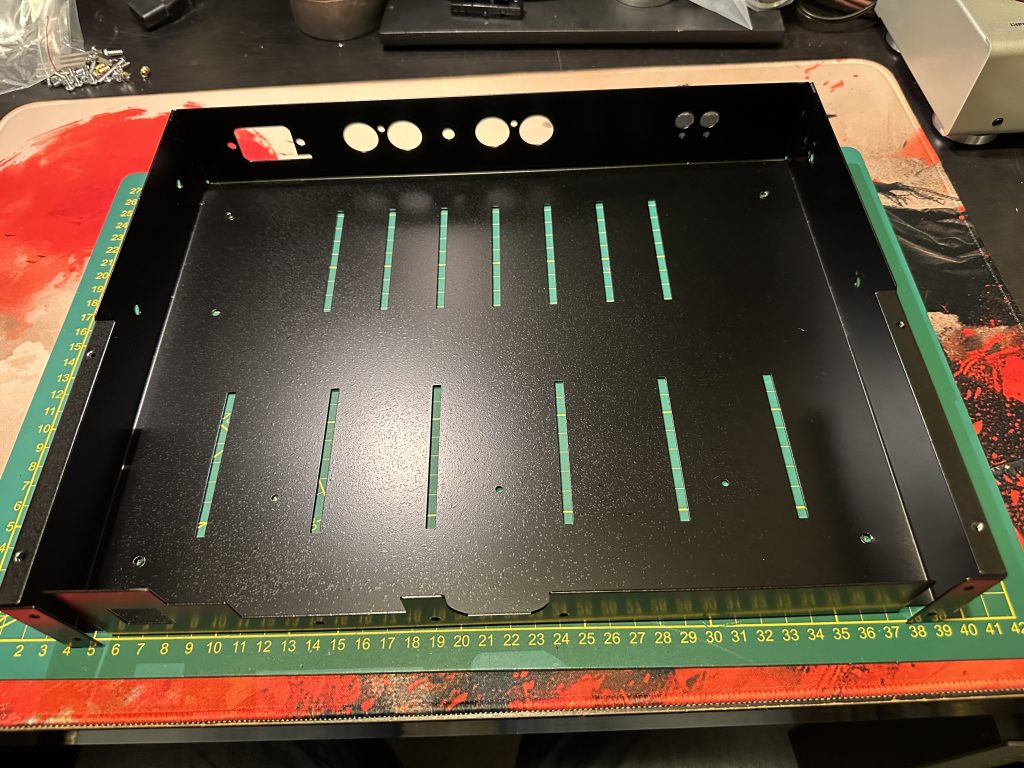
The bottom part of the enclosure after being removed from the box.
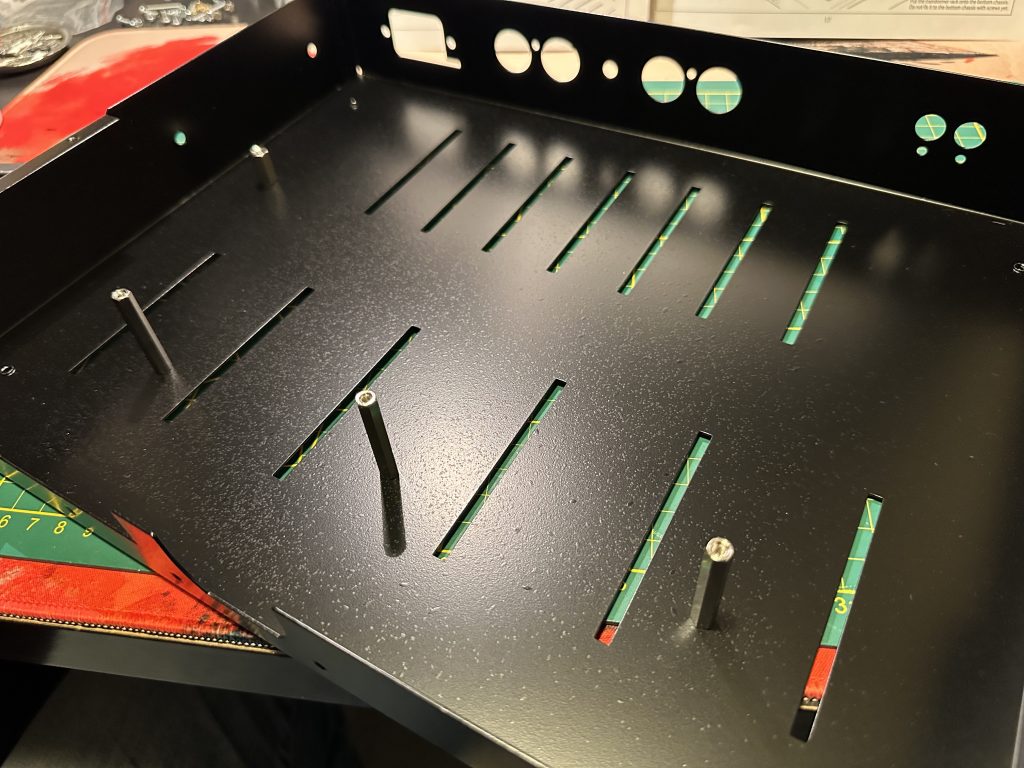
The standoff posts attached to the bottom part of the enclosure.
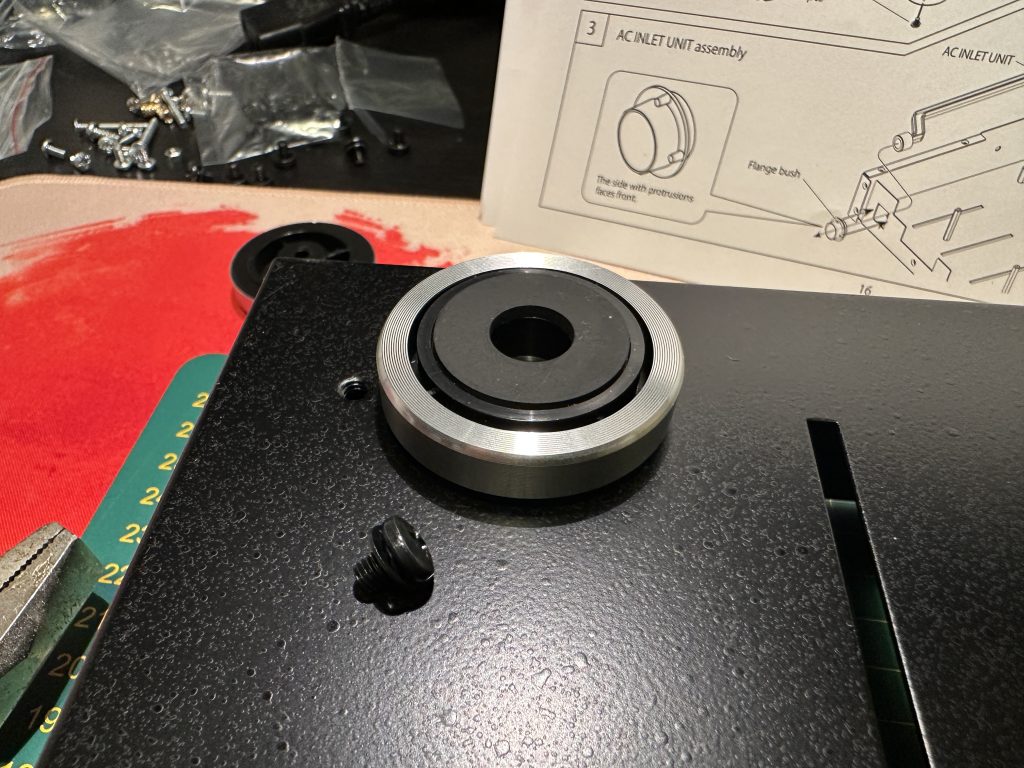
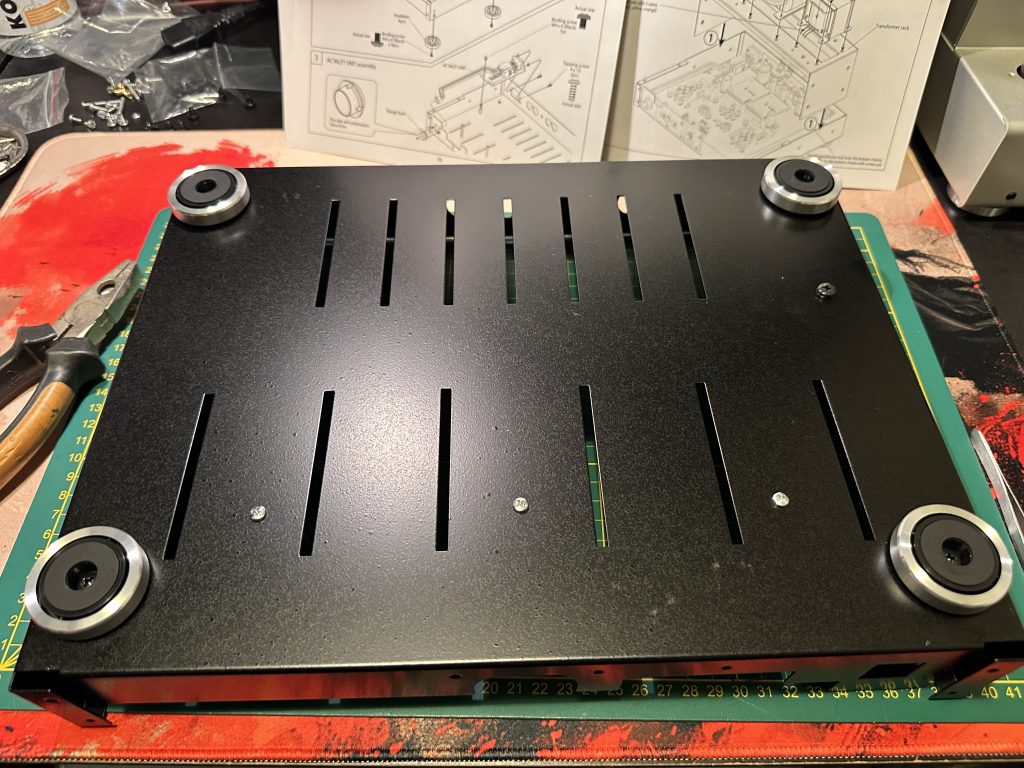
Attaching the feet to the enclosure.
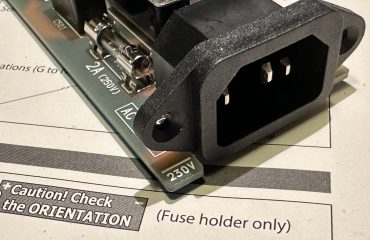
Now, we just need to mount the four feet at the bottom and then move on to the power supply module. The power socket should protrude slightly through the hole at the back. The button on the power switch push rod is inserted through the front square hole, and the guide sleeve is pressed in from the front. First, secure the power socket to the enclosure from the back using M4 screws. Only then, attach the board with an M4 screw to the standoff sleeve. Finally, check if the power switch button can be pressed without issue, and verify that the “230V” label is visible on the exposed part of the board at the back.
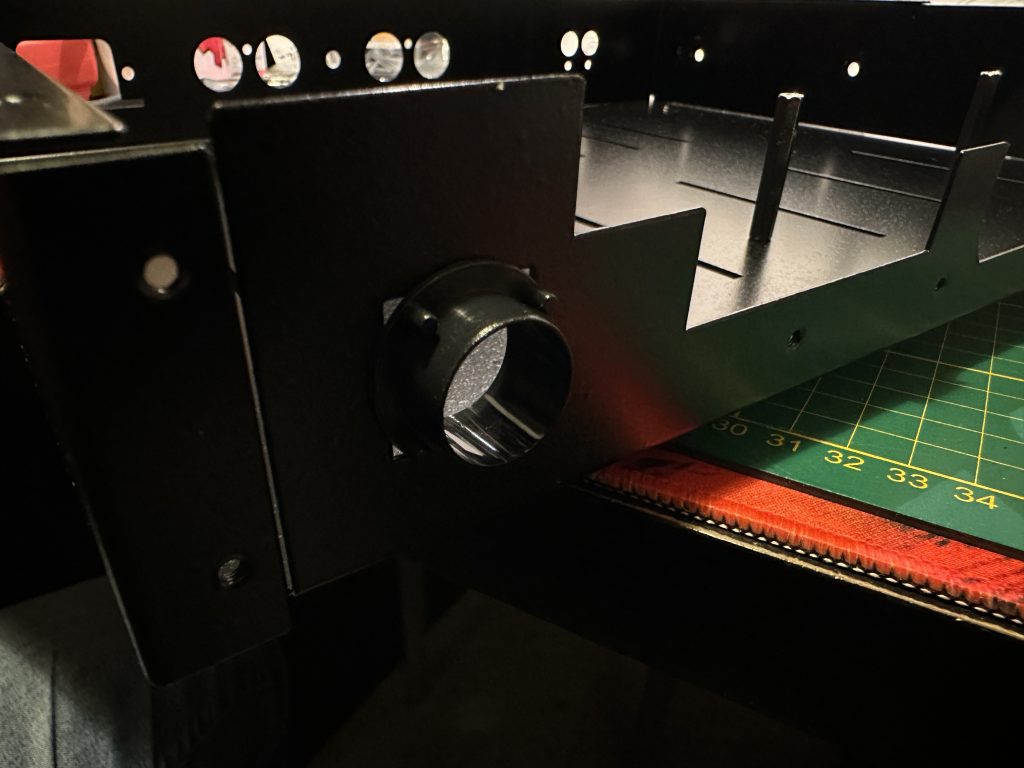
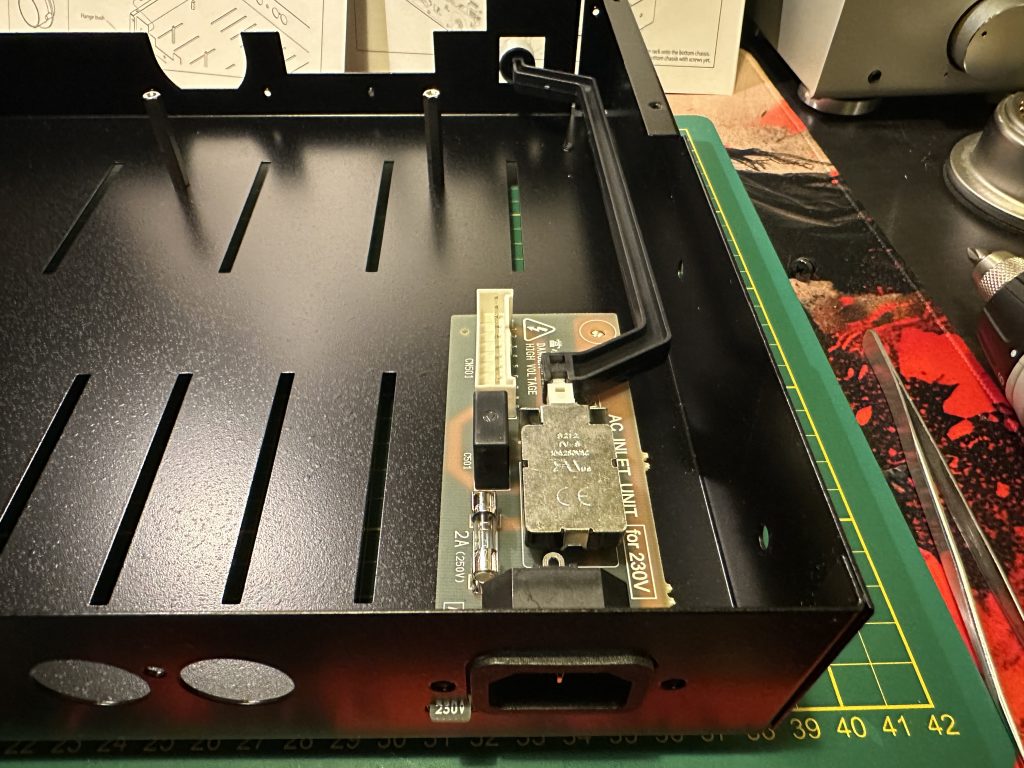
Assembly of the power supply module along with the power switch push rod.
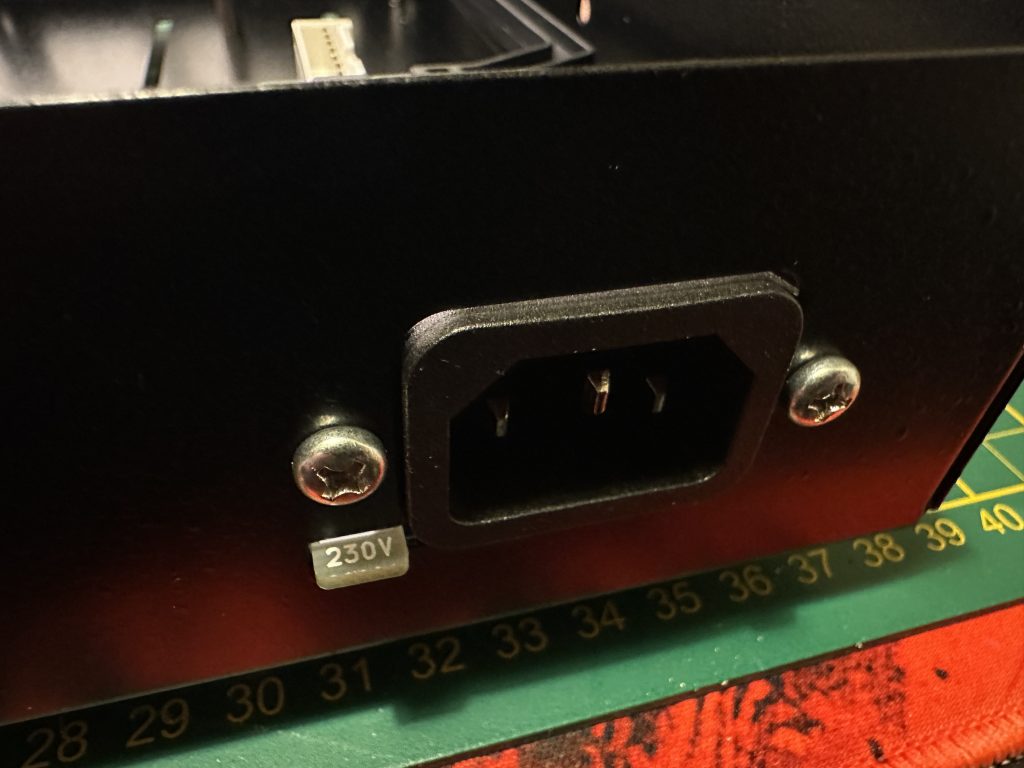
The power socket and the 230V board mounted in place.
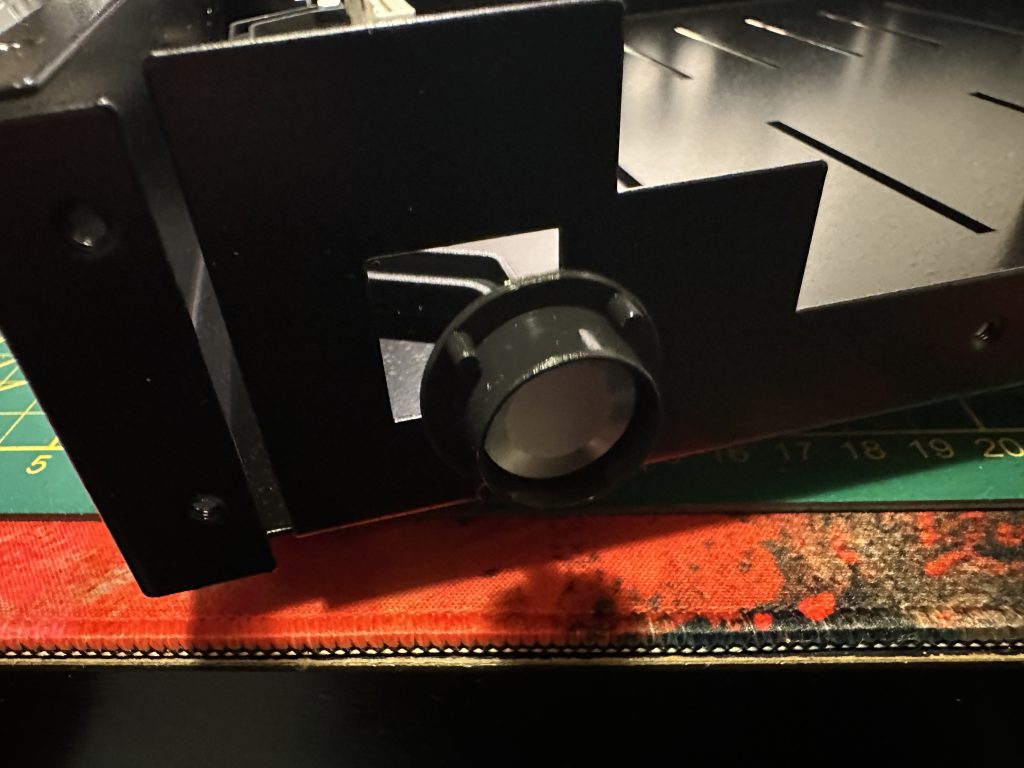
Assembly of the guide sleeve for the power switch button.
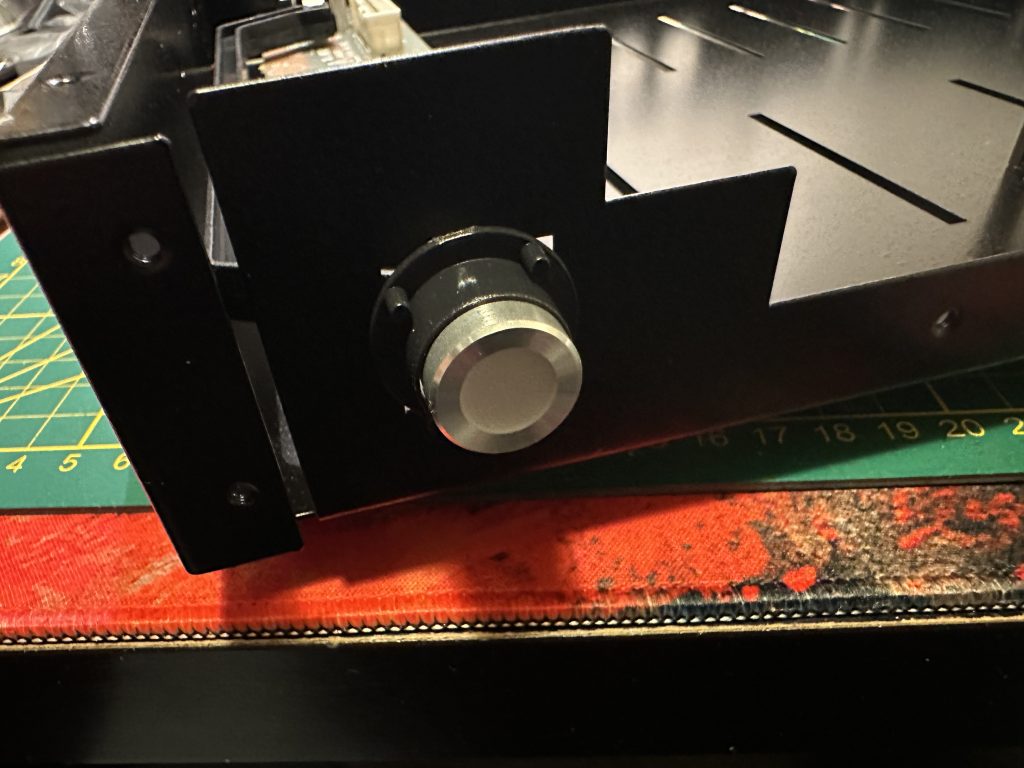
The power switch button properly installed.
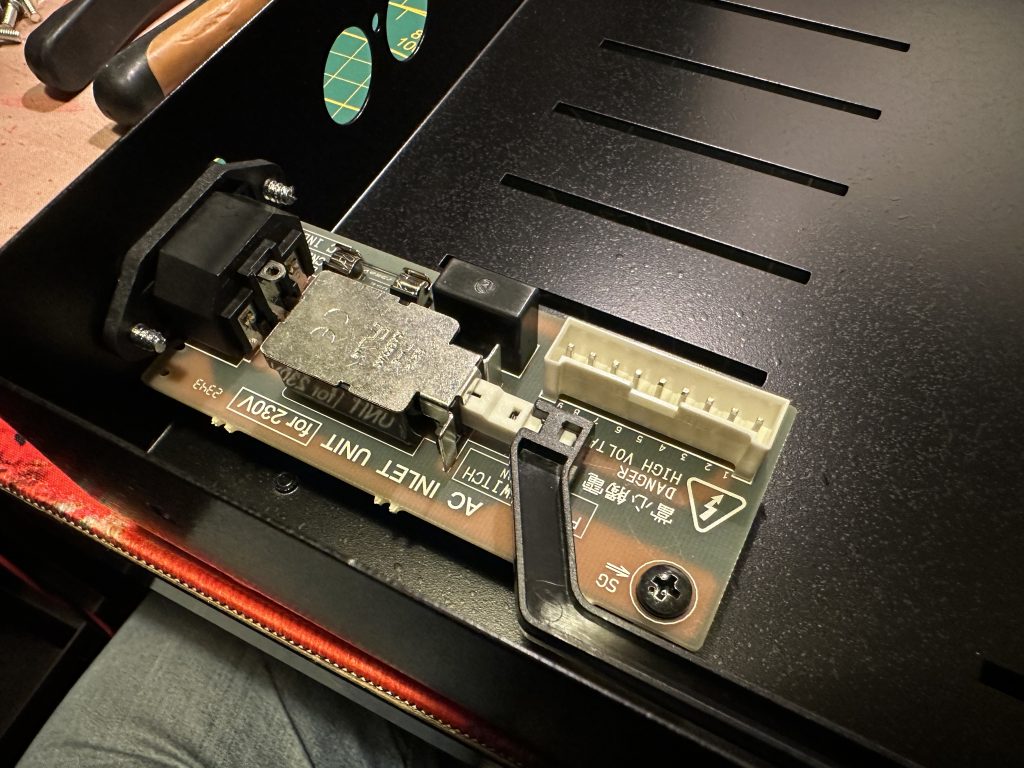
The power supply module installed.
After installing the power supply module, we proceed with inserting the previously prepared “sandwich” of PCB boards. It’s best to place it at a slight angle and slide the speaker terminals into the holes at the back of the enclosure, then simply lay the board down. Remember that at the same time, the input sockets and the speaker impedance switch, located between the output sockets, must also align with their respective holes.
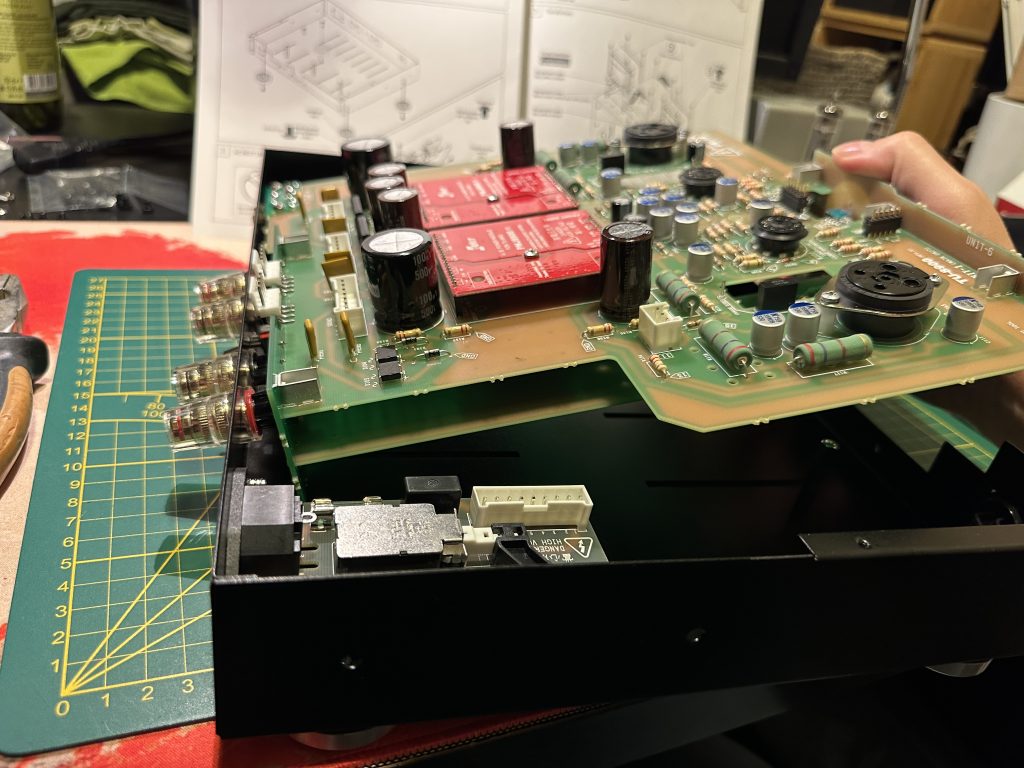
Slide the speaker terminals into the holes at the back of the enclosure.
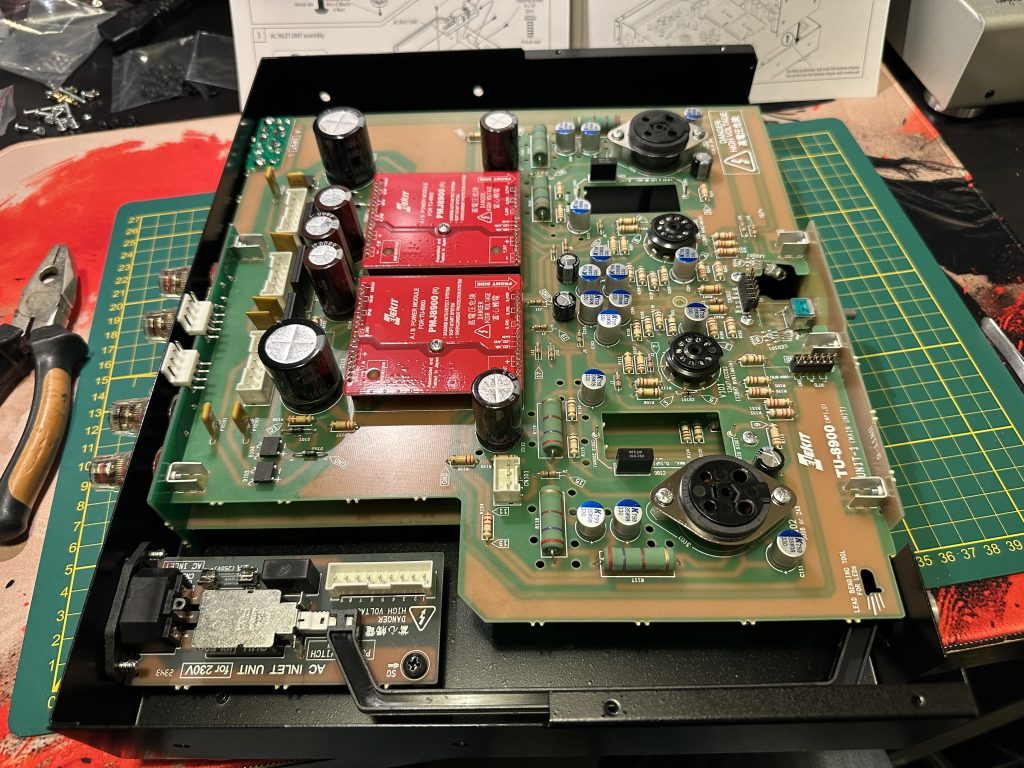
The main board placed in its position.
First, secure the board with the speaker terminals using M3x12 screws. Then, immediately after, attach the input sockets with two M3x10 screws.
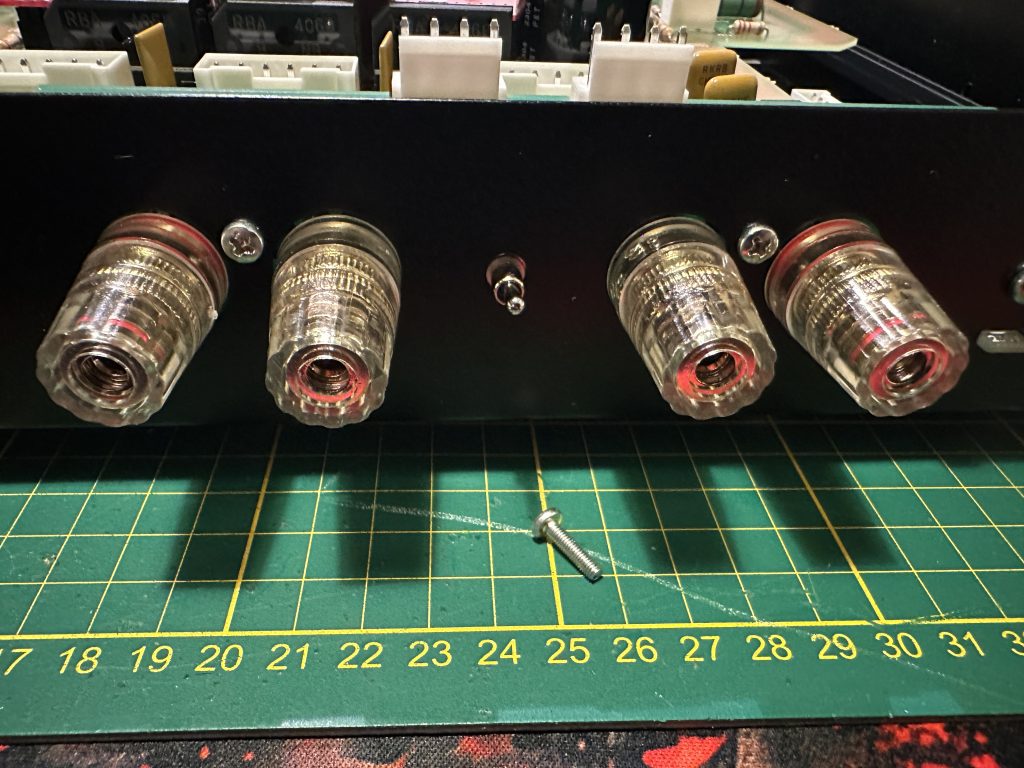
The speaker terminals screwed in place…
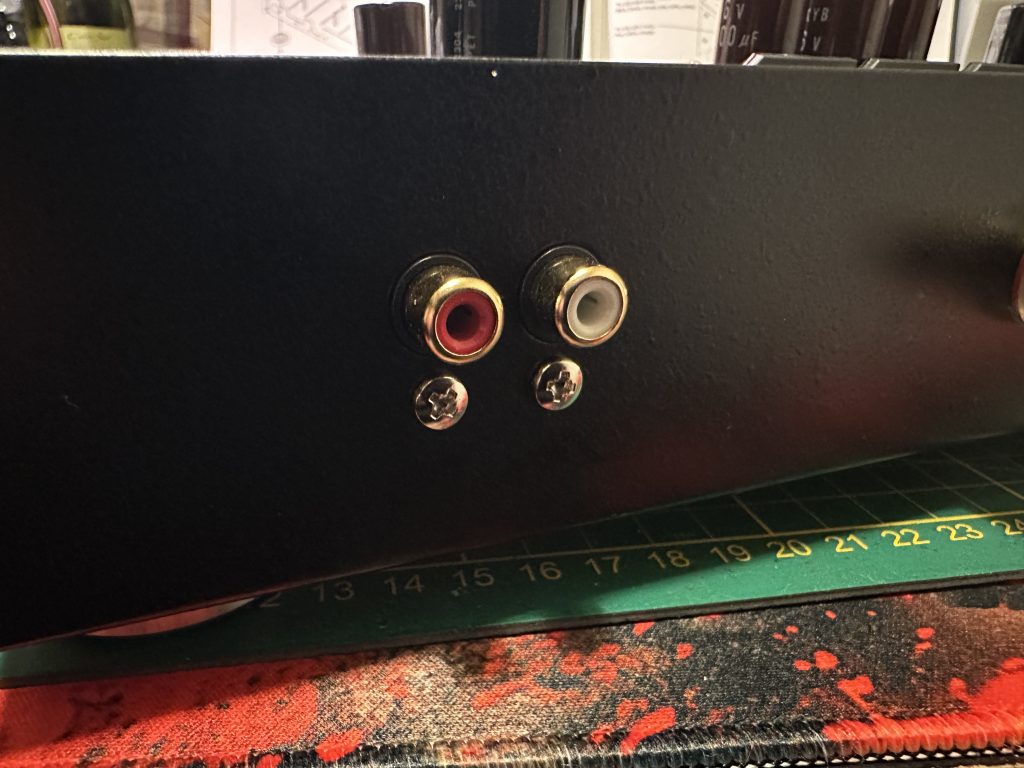
…and the input sockets.
Next, flip the amplifier over and secure the front panel to the enclosure using three M3x6 screws.
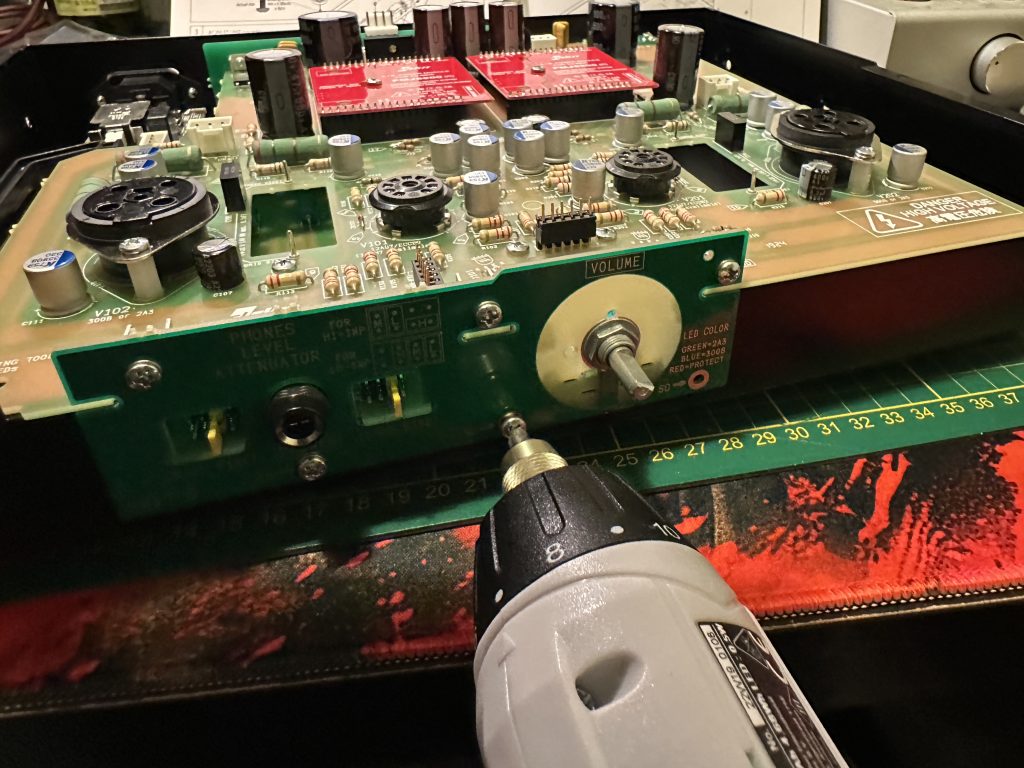
We also secure the board to the bottom of the enclosure using long M3x25 flat-head screws. These screws are threaded into the center of the power tube sockets.
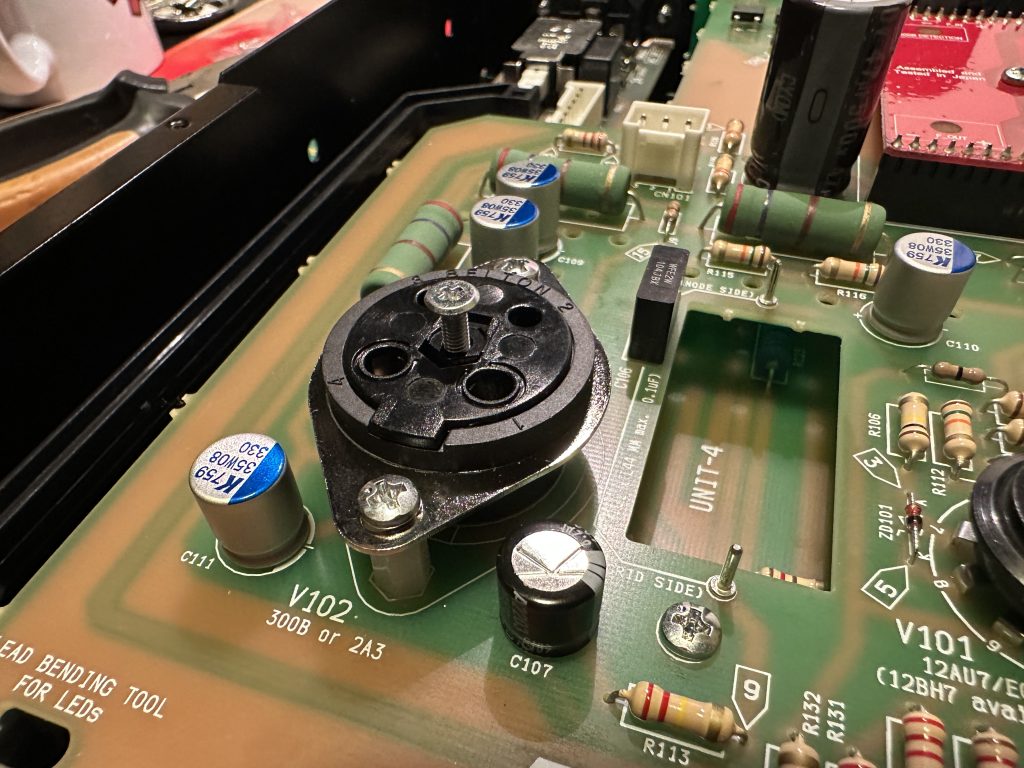
The screws securing the board are threaded into the center of the power tube sockets.
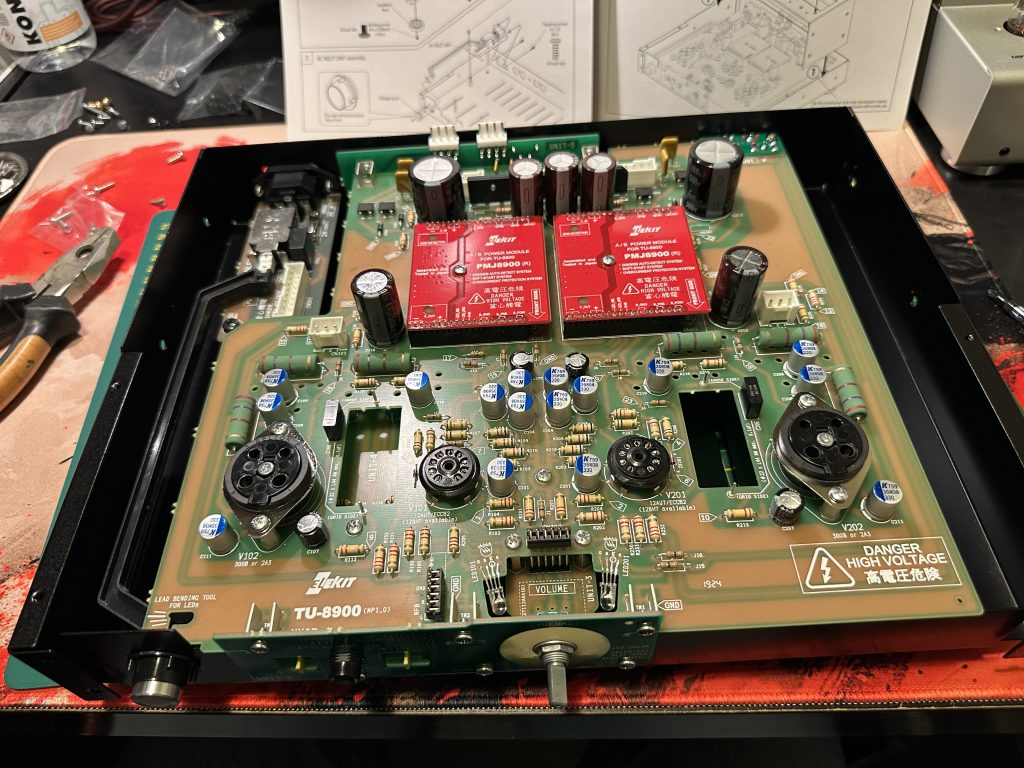
The main board secured in place.
Now, we move on to mounting the transformers onto the dedicated frame. The frame is identical on both sides, so it doesn’t matter which way we position it.
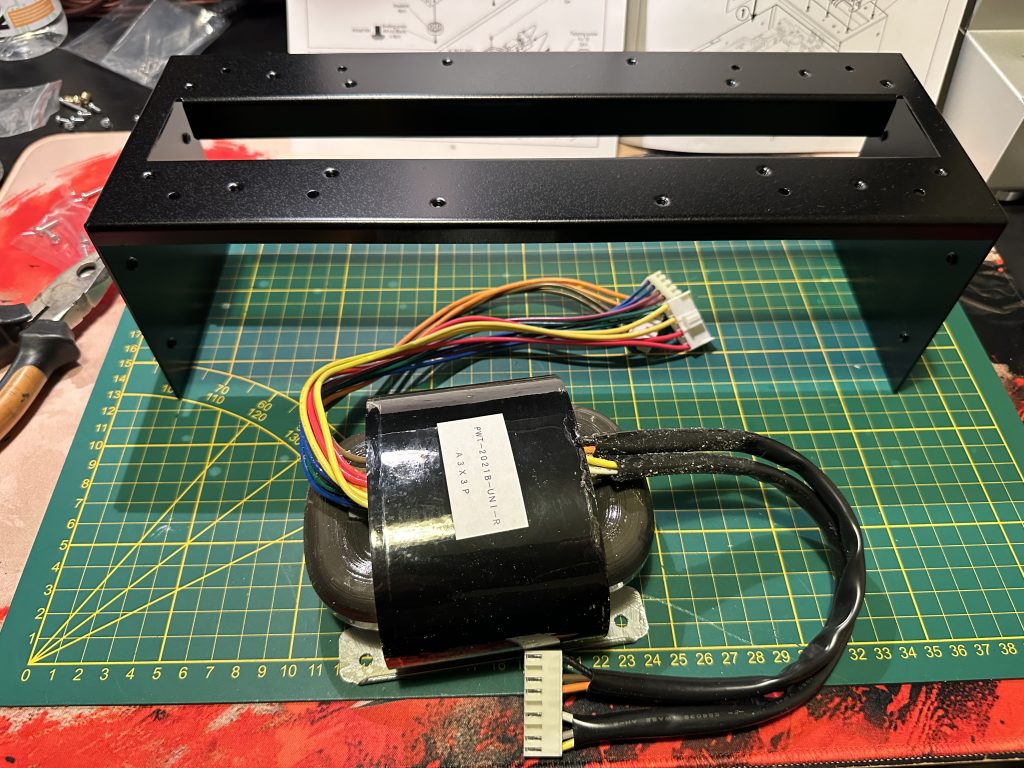
Place the power transformer in the center of the frame, with the wires in black insulation facing forward. Find the mounting holes and secure the transformer tightly with four black M4x6 screws.
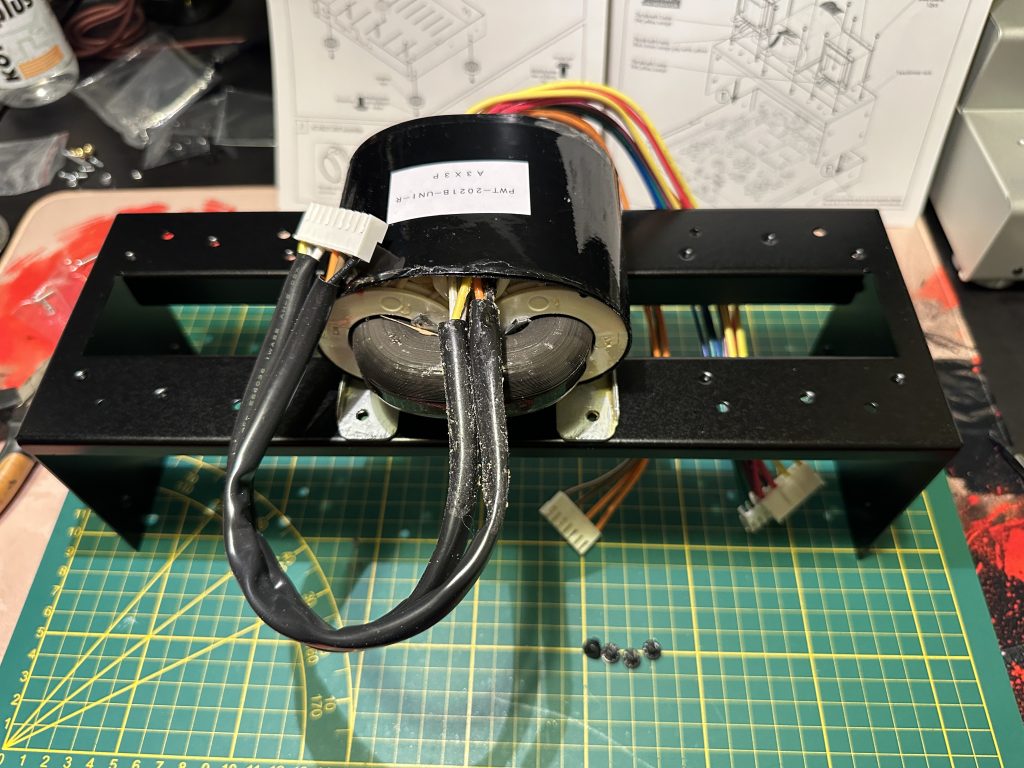
The power transformer positioned on the frame.
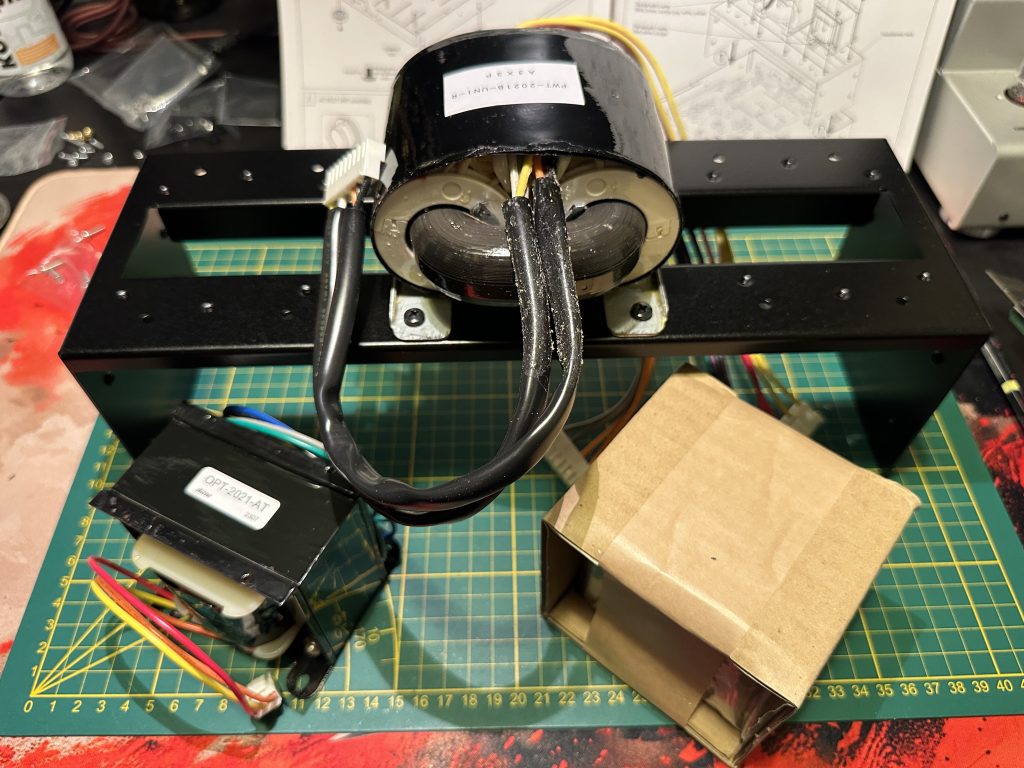
The power transformer securely mounted to the frame.
Remove the speaker transformers from their packaging and position them on the frame on either side of the power transformer, with the side featuring the three wires—red, yellow, and orange—facing forward. Secure them in place with black M4x6 screws.
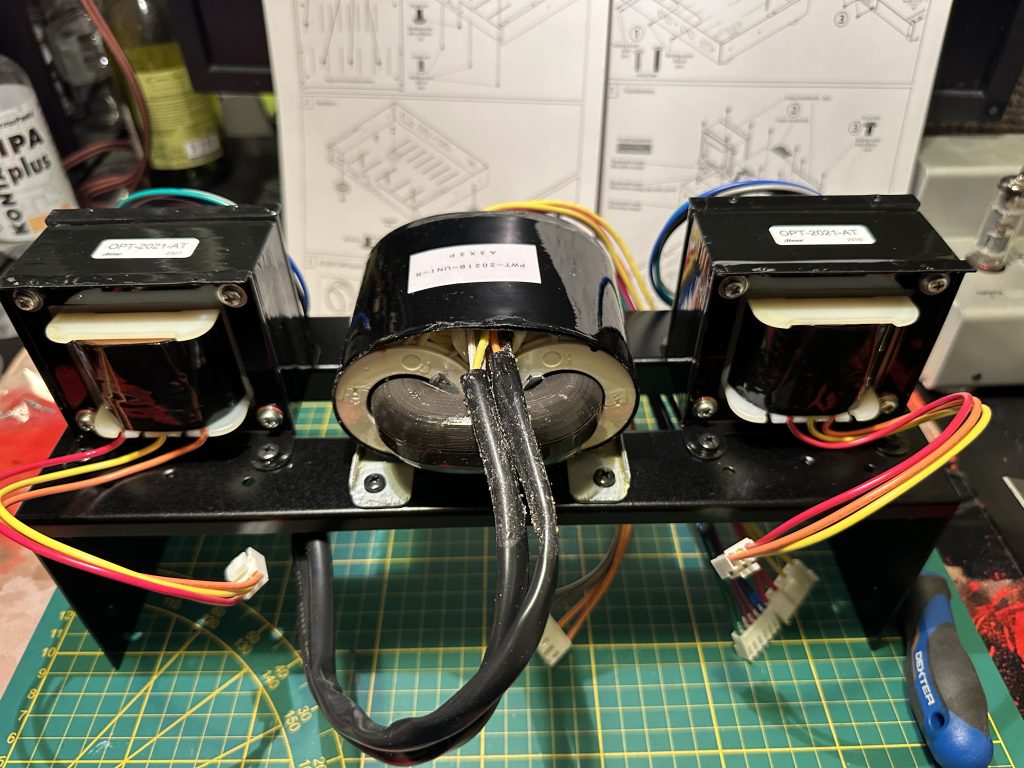
The transformers mounted on the frame.
Place the completed frame with the transformers onto the bottom of the enclosure, ensuring that its side panels fit inside the enclosure. The frame can move slightly forward and backward until it is fully tightened, which will make it easier for us to connect the plugs.
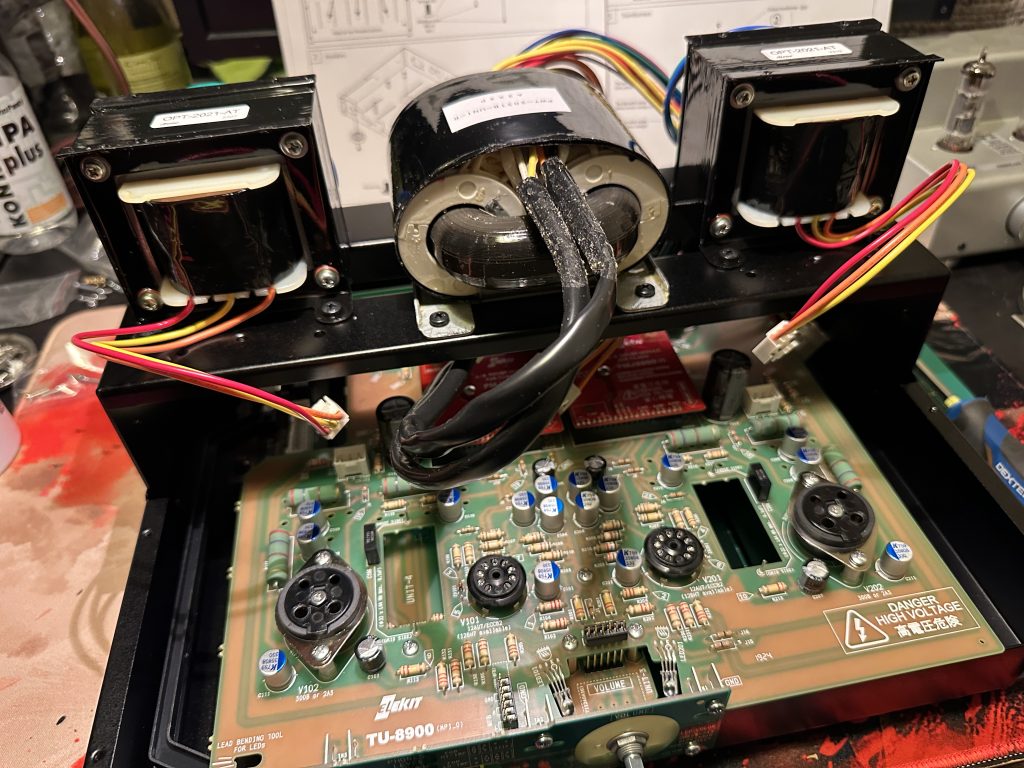
The frame with transformers placed inside the enclosure.
Slide the frame all the way to the back, and plug the large connector with the black-insulated wires into the socket on the power supply board. Make sure to first pass it through the hole in the center of the frame. We’ll also route all the wires from the transformers, including the speaker transformers, in the same way. This will prevent them from tangling and get them out of the way for installing the transformer covers.
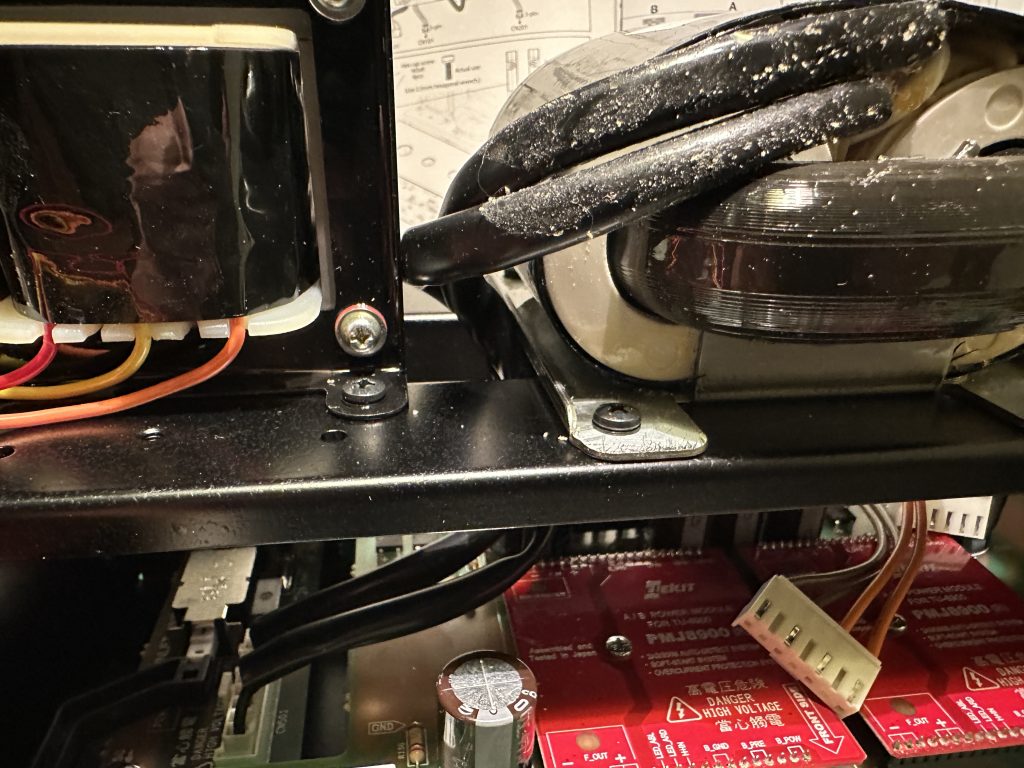
The power transformer connector plugged into the power supply board.
Connect the input plugs from the speaker transformers to the sockets, one on the left and one on the right. Remember to route the cables through the hole in the center of the frame.
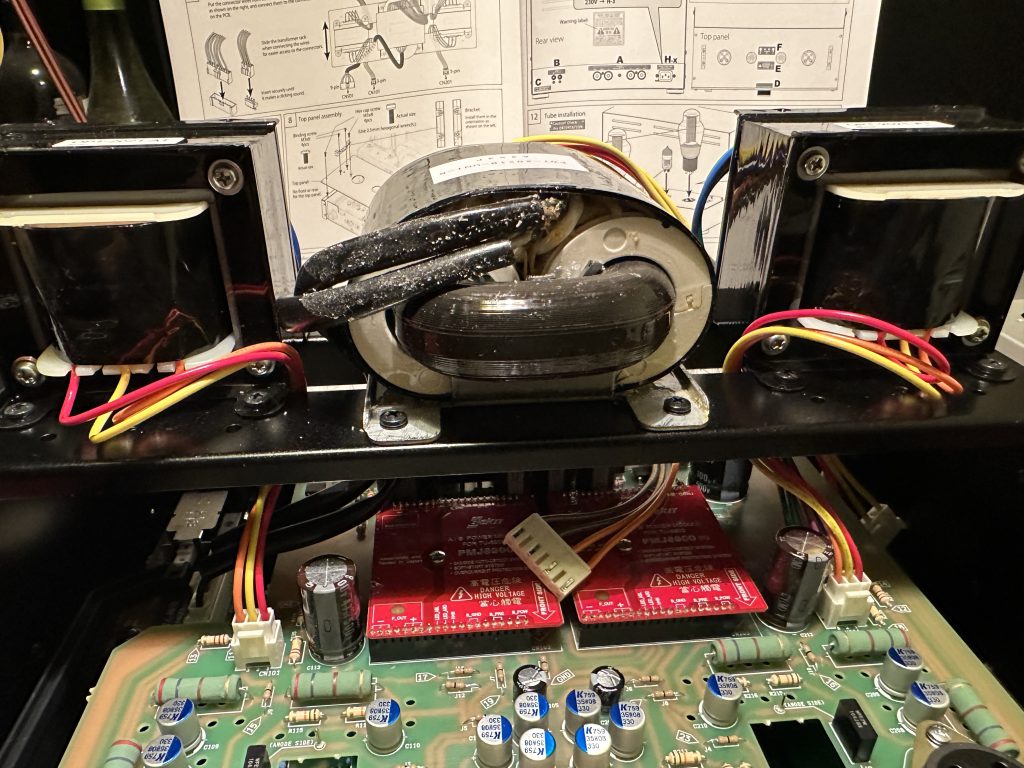
The speaker transformer connectors plugged in.
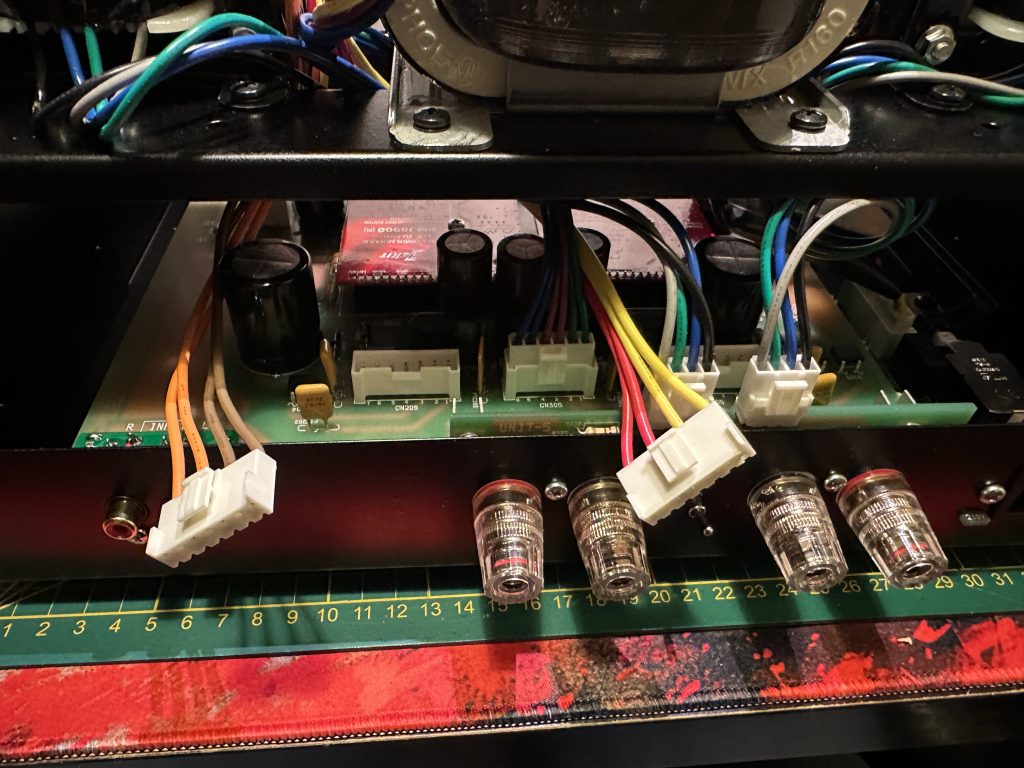
Flip the amplifier over, slide the frame with the transformers forward, and connect all the plugs at the back—three from the power transformer and two from the speaker transformers. The latter should be plugged into the edge sockets on the UNIT-5 board.
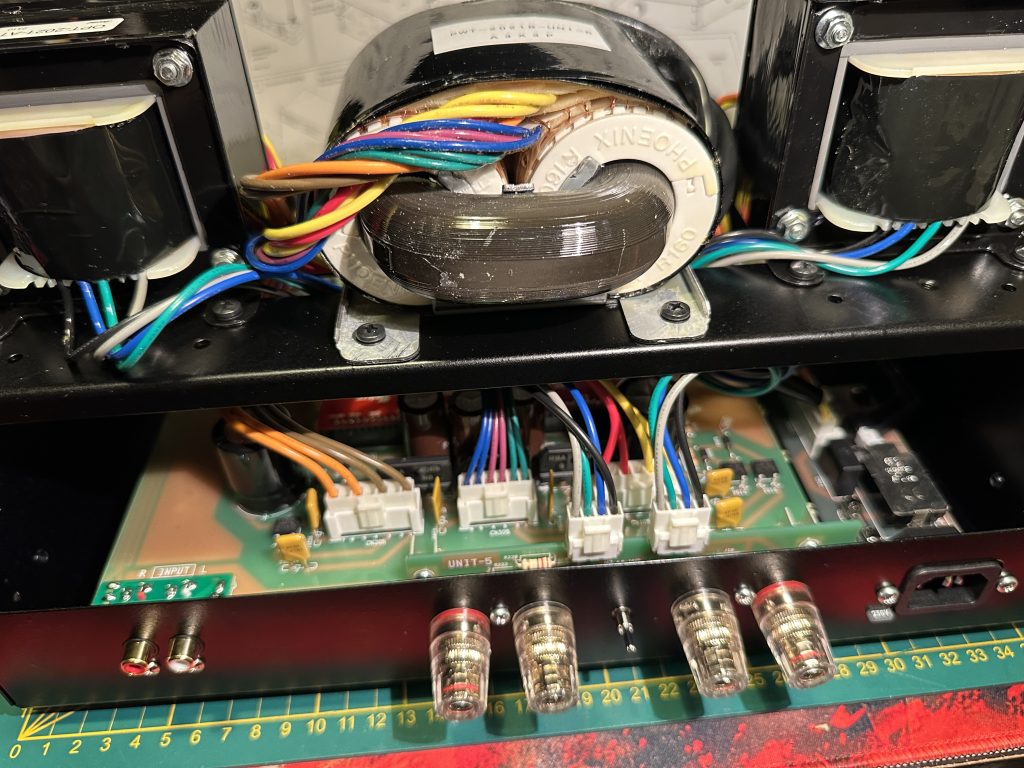
The plugs from the transformers connected at the back of the amplifier.
At this point, we’ve basically finished building the amplifier! 🙂 There are a few small details left to wrap up, but from an electronic perspective, everything is ready. It’s time for the first power-up. First, we need to check the filament power for the tubes and ensure the proper functioning of the power tube detection circuits. To do this, disconnect the CN105 and CN205 connectors, and then insert the tubes into their sockets.
Since we’re talking about tubes, let me add a little side note. For this amplifier build, we’ll be using tubes from the new production line of the Slovak manufacturer JJ Electronic. Of course, you can opt for different tubes—new, used, or even NOS (New Old Stock), which are tubes that were made a long time ago but have never been used. Some people believe that modern production tubes don’t sound as good as the older ones, and I’ll admit there’s some truth to that. But those old tubes are often ridiculously expensive.
If this is your first tube amplifier, I personally think it’s best to start with the current production tubes. They’re cheaper, more reliable (since NOS tubes can sometimes be decades old and unpredictable), and the sound will still be a huge improvement over transistors. Once you get used to the tube sound, then feel free to explore other tubes, because that’s when you’ll really notice the difference.
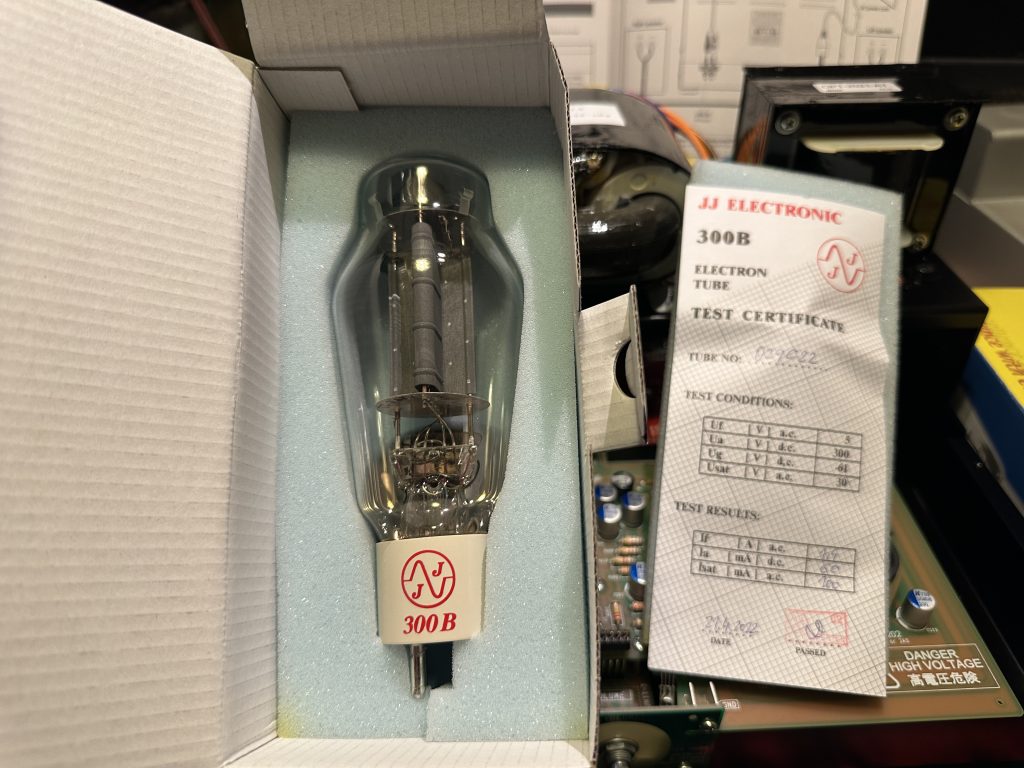
The new JJ Electronic tube comes in a protective box, along with the test results for the tube.
Tubes are, in very simple terms, glass bulbs with a vacuum inside, and during operation, they can heat up to nearly 200 °C. Because of this, the glass should be clean, free of streaks or spots. Any residue on the glass can cause uneven heating and create harmful stresses within the glass, which over time can lead to cracking and irreversible damage to the tube. This is especially true for power tubes, which have much larger surfaces and are more susceptible to these stresses. That’s why, if possible, always hold the tube by its base, not the glass itself. There’s always a bit of oil or grease on your fingers, and that can leave residue on the tube’s surface.
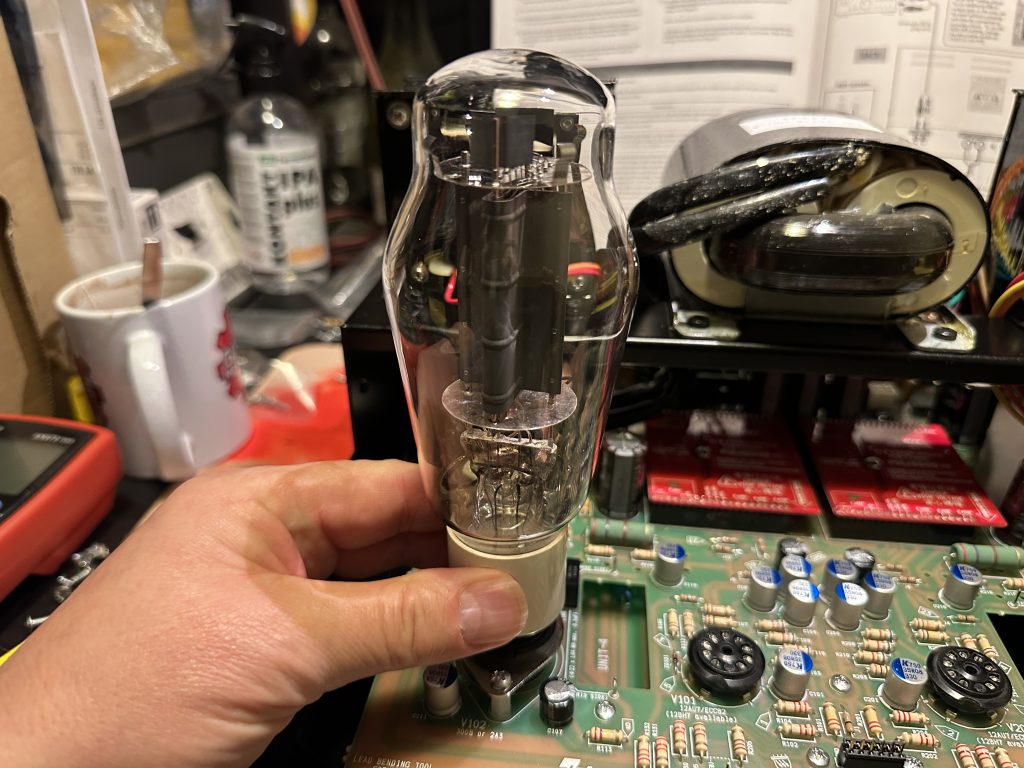
Correct way to handle the tube – by the base.
New tubes may not fit easily into new sockets. The solution is simple—lightly align the tube’s pins with the socket, and while gently pressing the tube down with your hand from above, make small circular movements with the tube. This will help gently spread the socket’s pins and allow you to slide the tube in bit by bit. Don’t worry, the tube won’t crack as long as you do this with care and continue rotating it slightly. If you’re still unsure, you can wear a protective glove.
And remember, if you’re handling the tube with your hand, make sure to wipe down the glass where you touched it before powering up the amplifier. You can use a paper towel, cloth, or any suitable material.
The same method can be used for small tubes, with the difference that you won’t be able to press down on them from above—usually, the top of the tube is where the valve was used to evacuate the air during production. However, the circular motion combined with gentle pressure is still the best way to insert them.
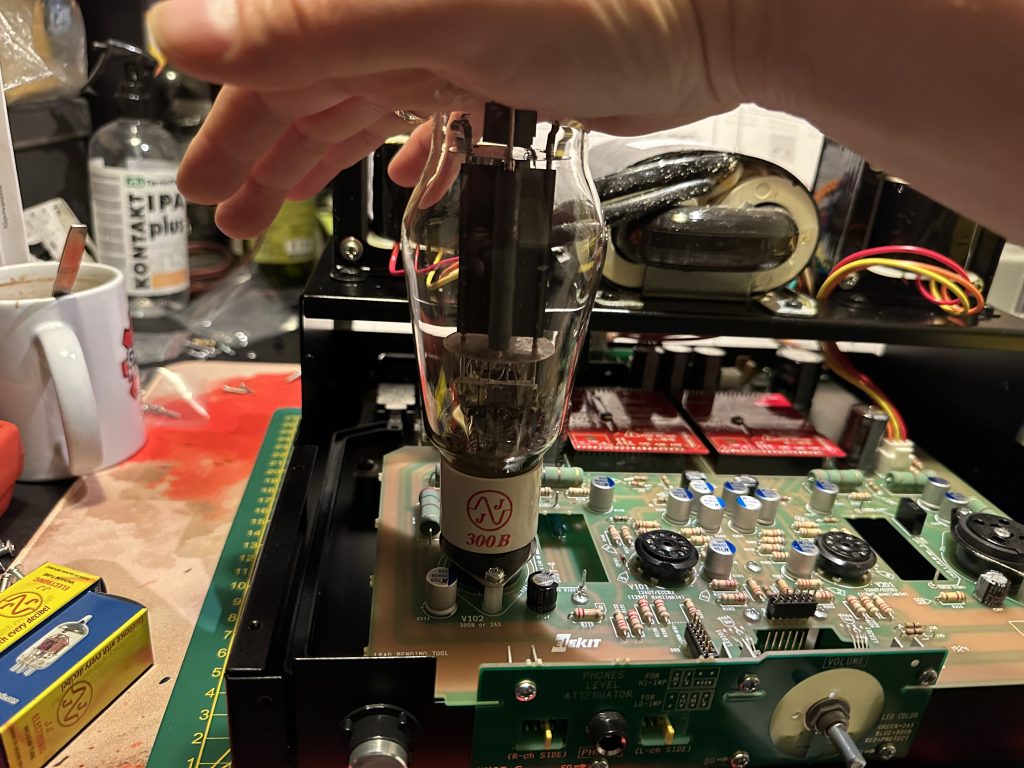
Inserting the 300B tube – press down gently from above while making small circular movements with the tube. This will help align the pins and slide the tube smoothly into the socket.
Tubes are in, plugs are out, it’s time to power up. First, make sure the power switch is in the “off” position, then plug in the power cable. Get comfortable, and then switch on the amplifier using the front power button. Let’s see what magic happens!
!!! WARNING !!!
From this point onward, the amplifier operates at very high, dangerous voltages that pose a serious risk to your health and safety. Under no circumstances should you touch ANY components of the amplifier while it’s powered on and open. After turning it off, always disconnect the power plug and wait several minutes for the tubes to cool down and the capacitors to discharge. Remember, high voltages can remain present for some time even after the amplifier is turned off! Stay safe!
After powering up, the LED around the volume potentiometer should light up green, and after a moment (maybe), it will change to blue. This depends on the installed tubes – for 300B tubes, the color should change to blue, while for 2A3 tubes, it should stay green. If no tubes are installed, the light will also remain green.
Check the A/B modules too and see if the LEDs are glowing orange. The LED marked “F_OUT” will shine dimmer with a 2A3 tube and without any tube, but it will glow brighter with a 300B. The “300B DETECTION” LED should light up only when a 300B tube is installed.
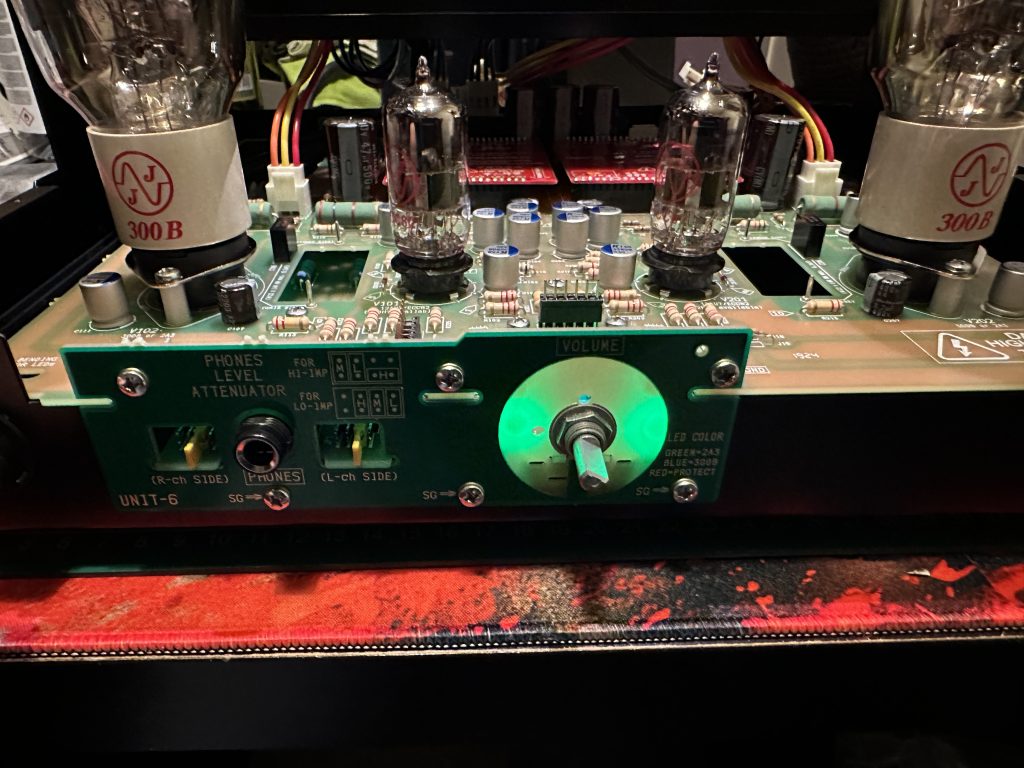
Green color of the LEDs immediately after powering on.
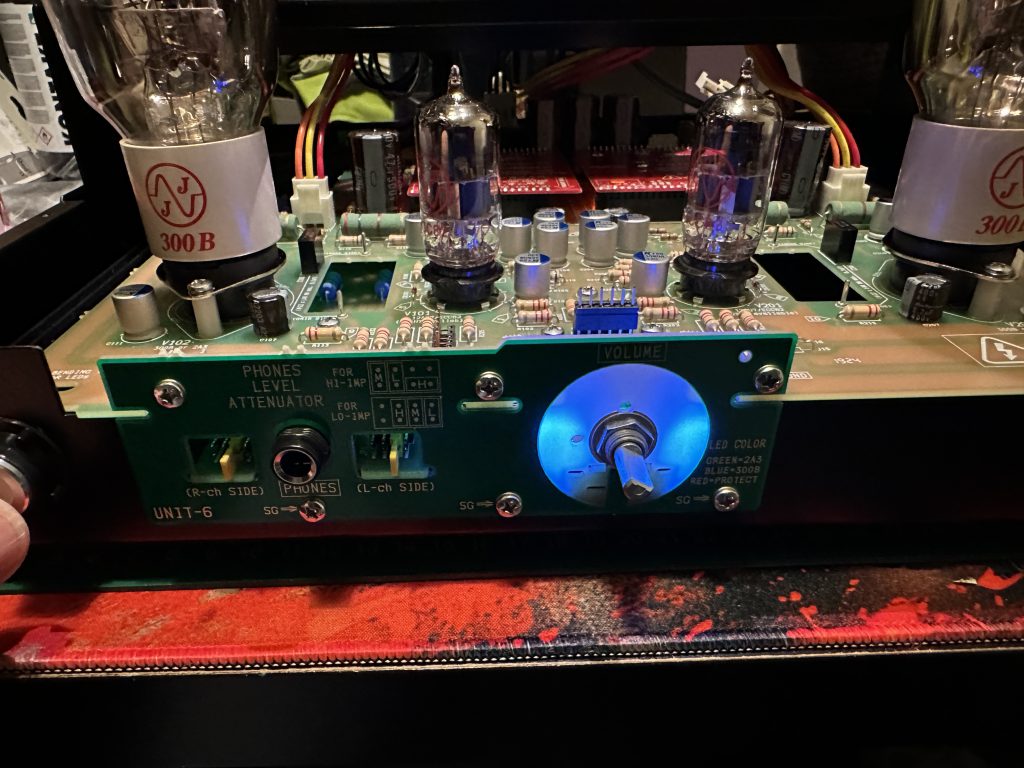
Blue color indicates that the installed power tubes have been detected as 300B.
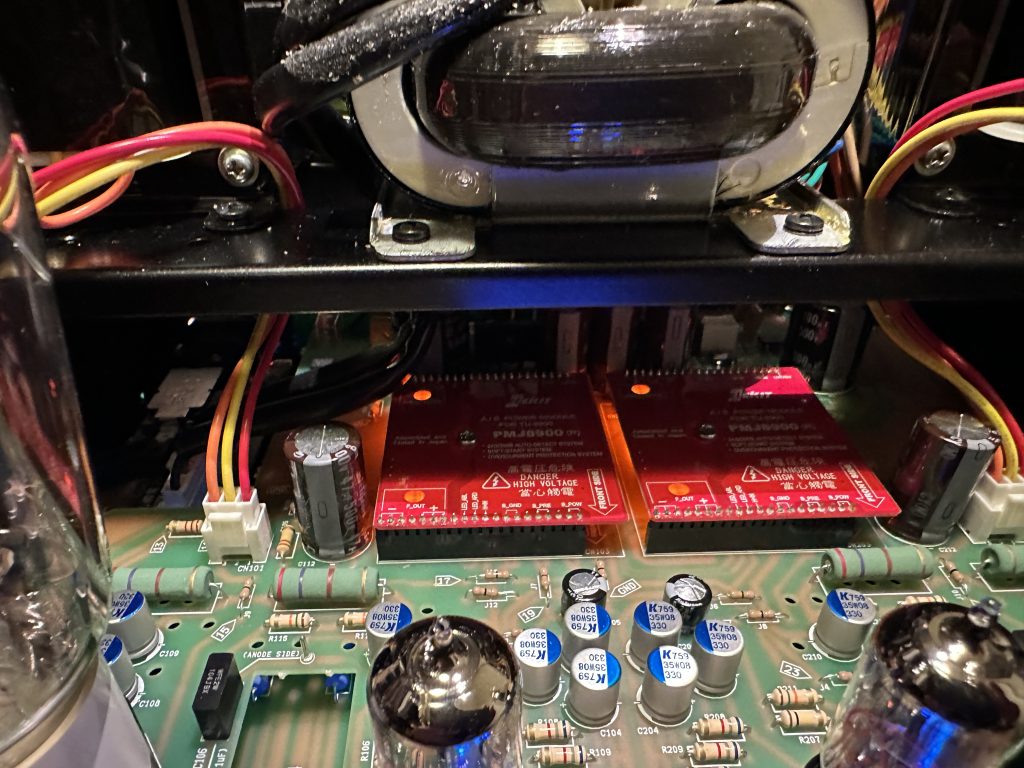
LEDs lighting up on the A/B modules (under the transformer frame).
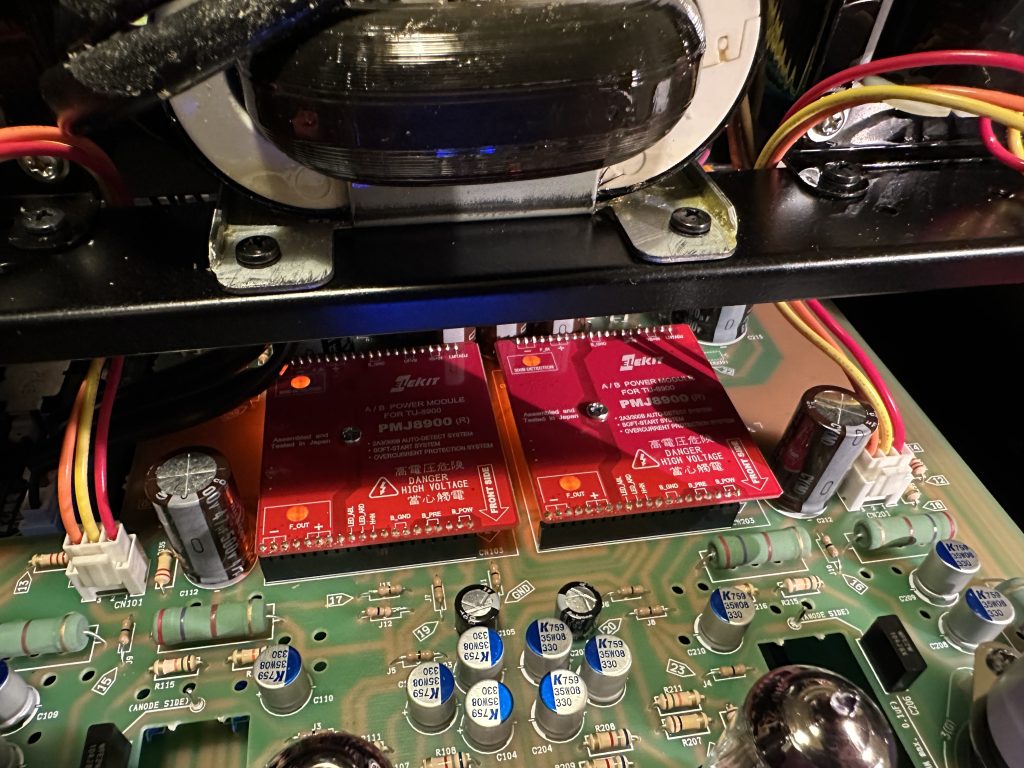
Another view of the LEDs lighting up on the A/B modules.
Wait a moment and check if you can see the glowing filaments inside all the tubes. If you can’t see anything, turn off the lights in the room.
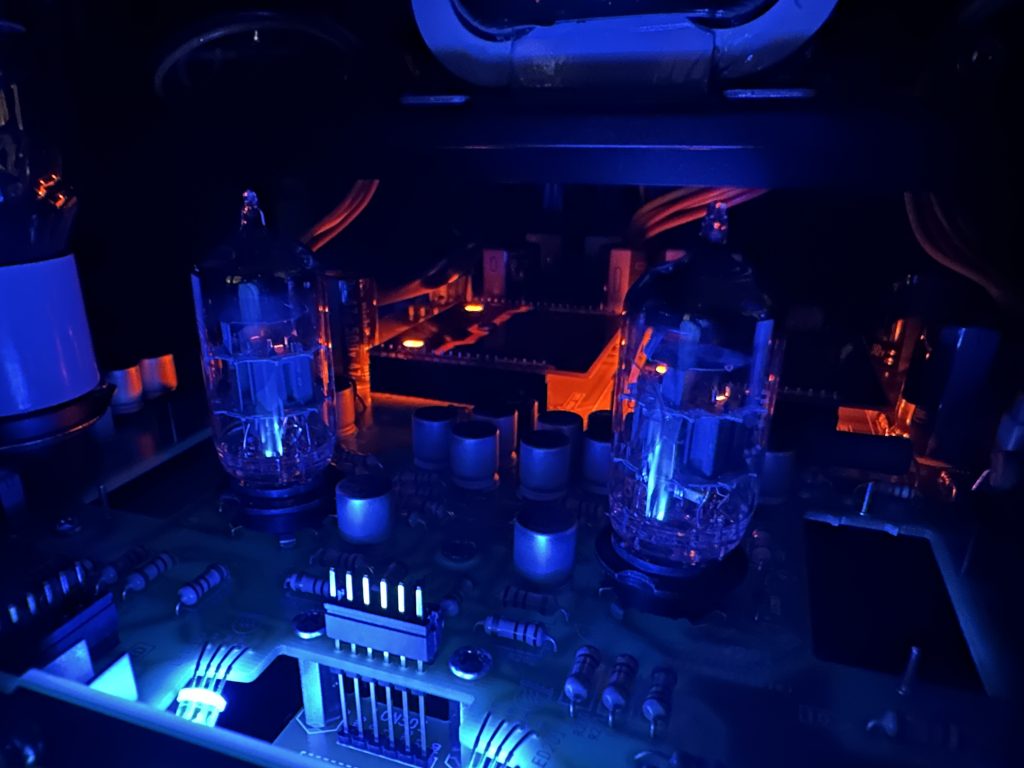
Looks cool, right? You can see the glowing filaments inside the tubes.
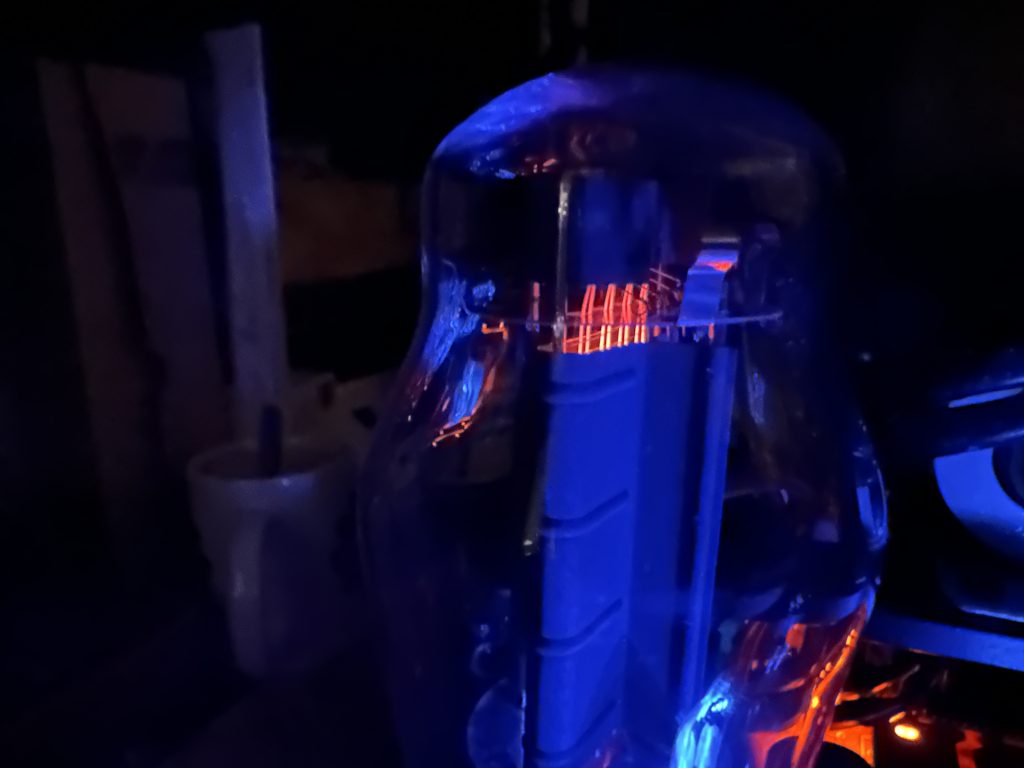
The glowing filament of a 300B tube.
If one of the tubes doesn’t light up, we’ve got a problem. Turn off the power, wait a moment for the tubes to cool down, and carefully check whether any mistake was made during assembly around the unlit tube. It once happened to me that I didn’t solder all the pins of a tube socket… and to this day, I have no idea how that happened.
Since it’s always possible that the tube itself is faulty, you can try swapping the tubes — left for right — and turn the amplifier on again. If the same tube as before remains unlit, then it’s most likely defective. But if the suspected tube lights up in the other socket, and the new one placed where the problem was is now dark, then there’s likely an assembly error on the circuit board.
If everything is working, turn off the amplifier using the front button and unplug the power cord. Then, plug the connectors back into the CN105 and CN205 sockets, connect the speakers, and the input signal.
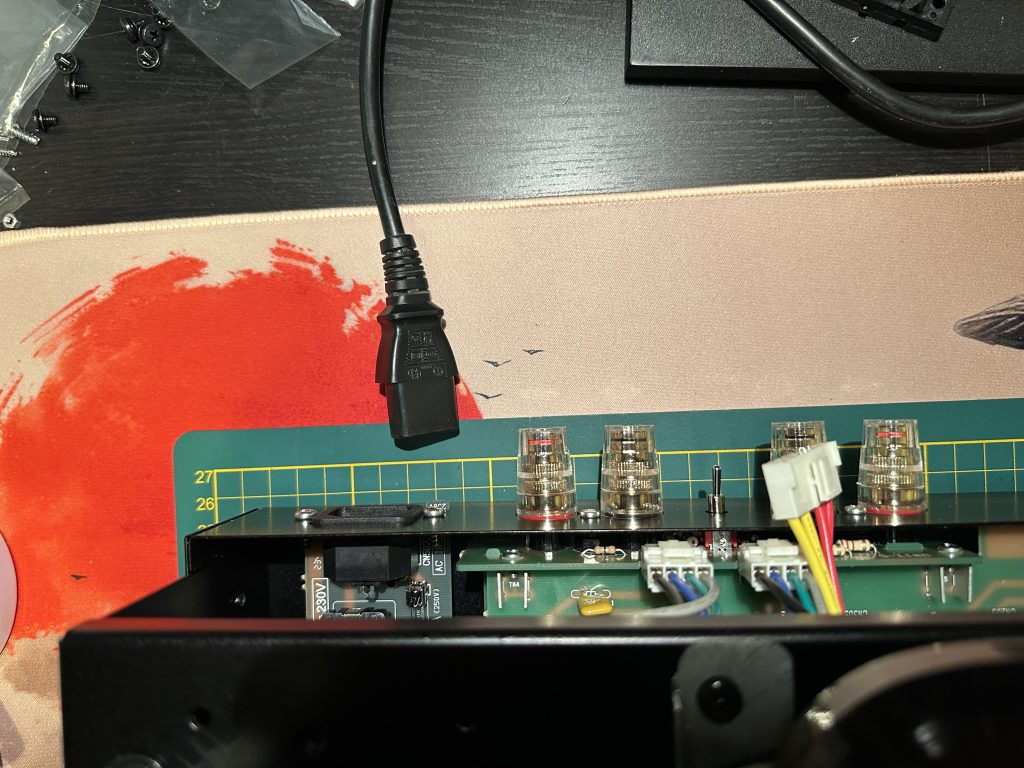
Remember to unplug the power cord.
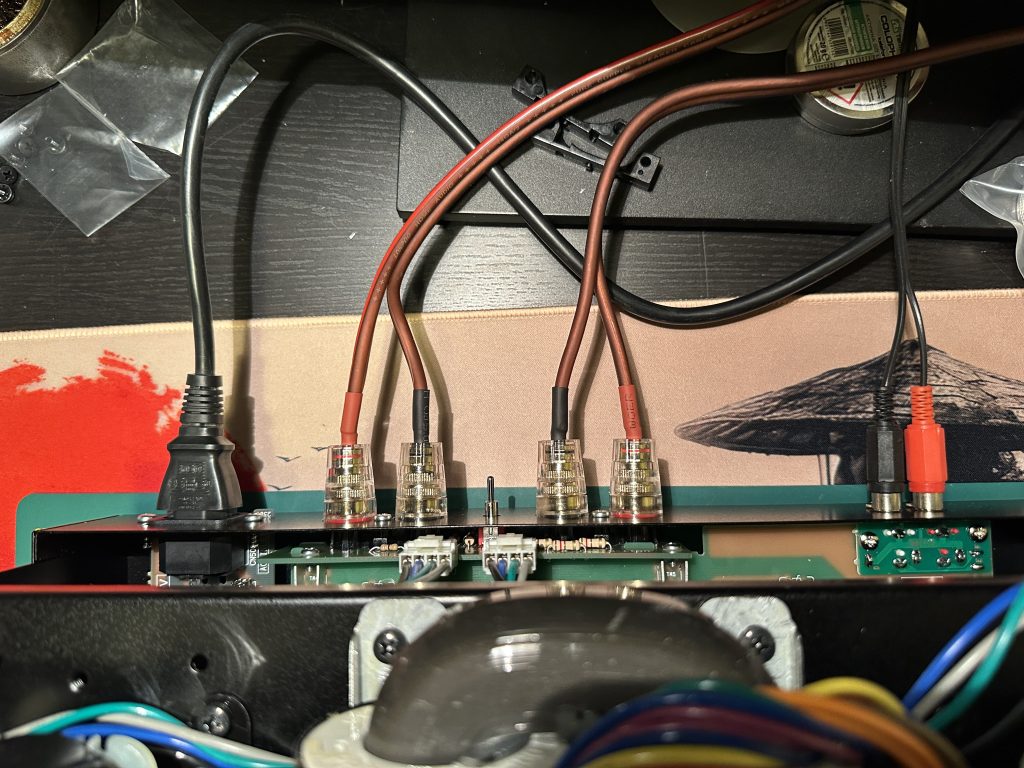
We reconnect the previously removed plugs, speakers, and input signal cables.
We turn the amplifier back on, and after a moment, without any input signal, we turn the volume knob to the right and listen to what we hear from the speakers. What do we hear? Well… nothing 🙂 If it’s silent, that’s a good sign! 🙂 We turn the volume knob all the way to the left, play the signal, and turn up the volume. Can you hear it playing? Great 🙂 Now we can relax and enjoy the music for a bit, but we’re not done yet. We turn off the amplifier, disconnect the speakers and input, and what else? Yes, the power plug!
The final assembly of the enclosure starts with inserting the threaded inserts into those peculiar-shaped elements. Take a good look at the drawings in the instructions and compare them to the actual parts before you press the first insert in, as removing a wrongly inserted one can be tricky. If the insert doesn’t slide in easily, you can gently use a hammer to tap it into place.
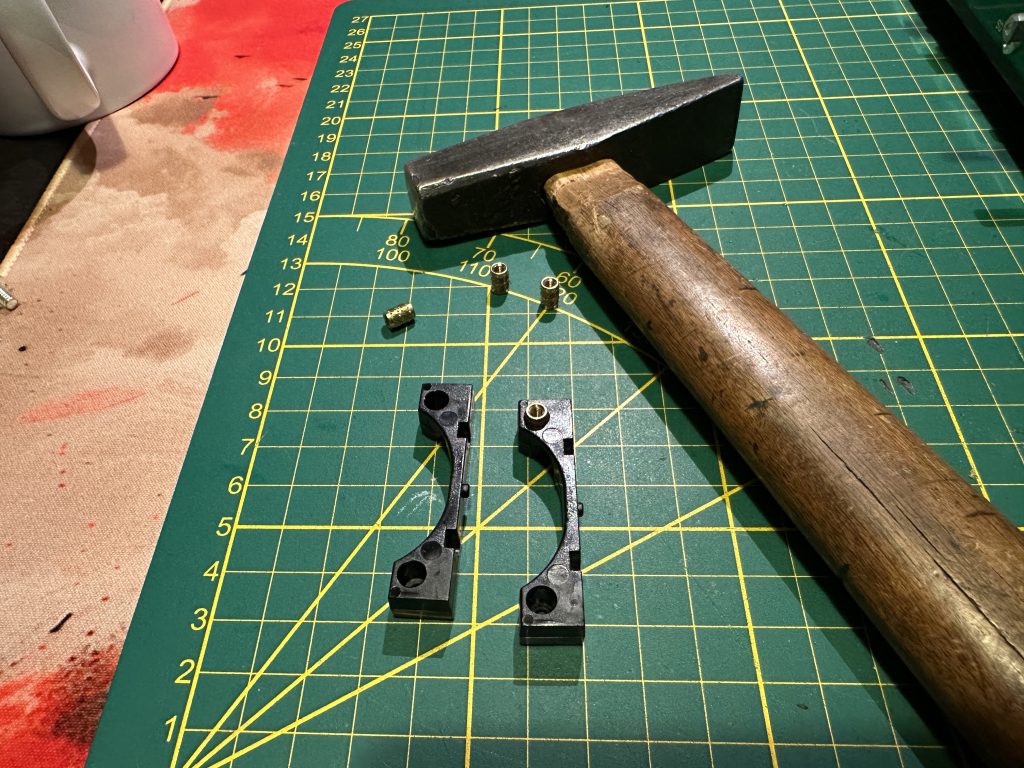
The mounting elements for the tubes cages.
The elements with inserted threaded ends are mounted onto the shield plate. There is a positioning hole drilled in the plate, and the element has a protrusion that fits into it. Secure it with two M3 screws.
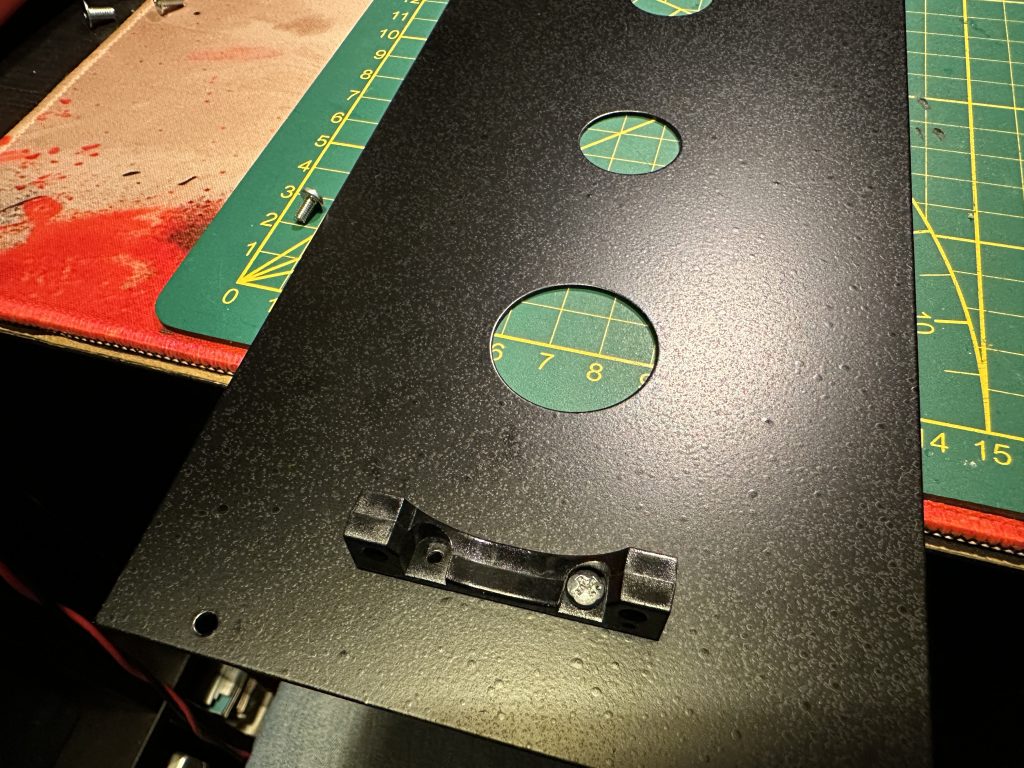
Mounted component for securing the protective cage for the tubes.
We place the protective cover and secure it with four M3x8 hexagonal head screws.
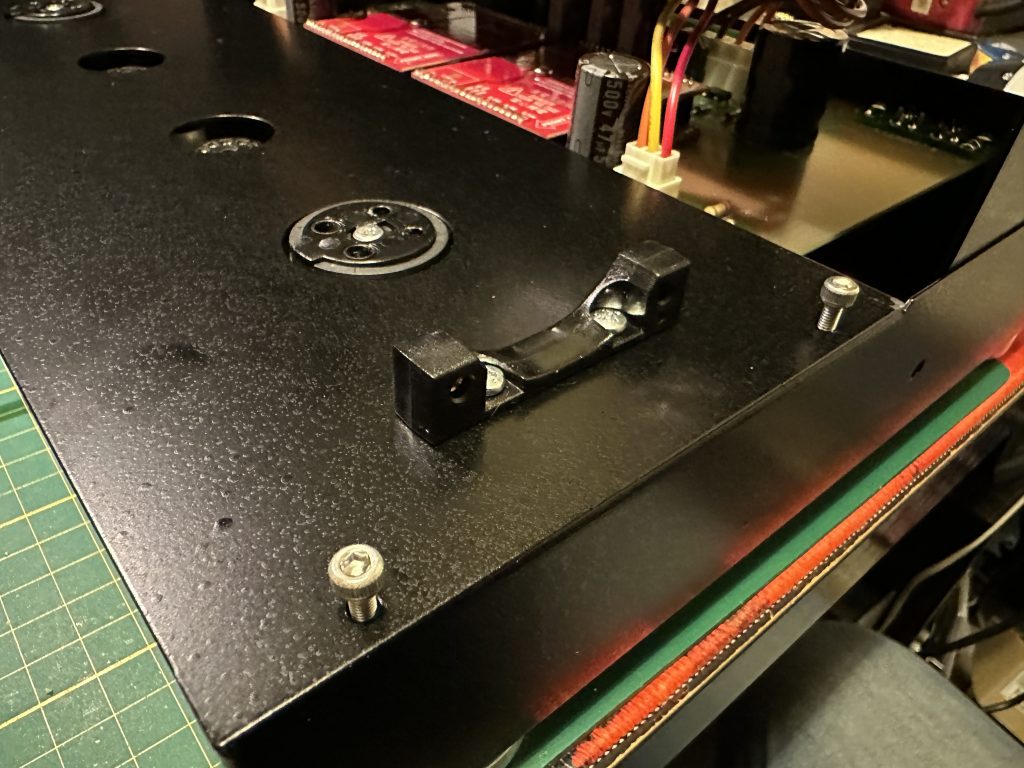
Mounting the protective cover.
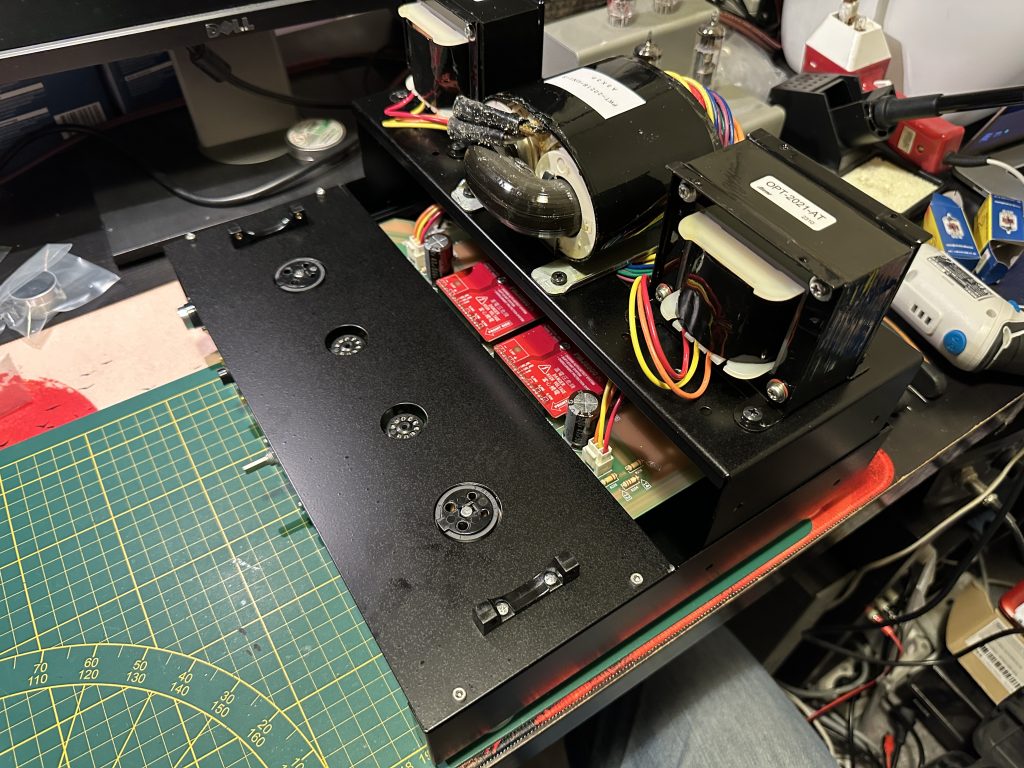
View of the almost complete amplifier.
Now, we need to screw in the transformer frame. By moving it back and forth, we position it so that the threaded holes are visible through the openings in the side part of the lower chassis. We screw it in with black M4x6 screws, two on each side.
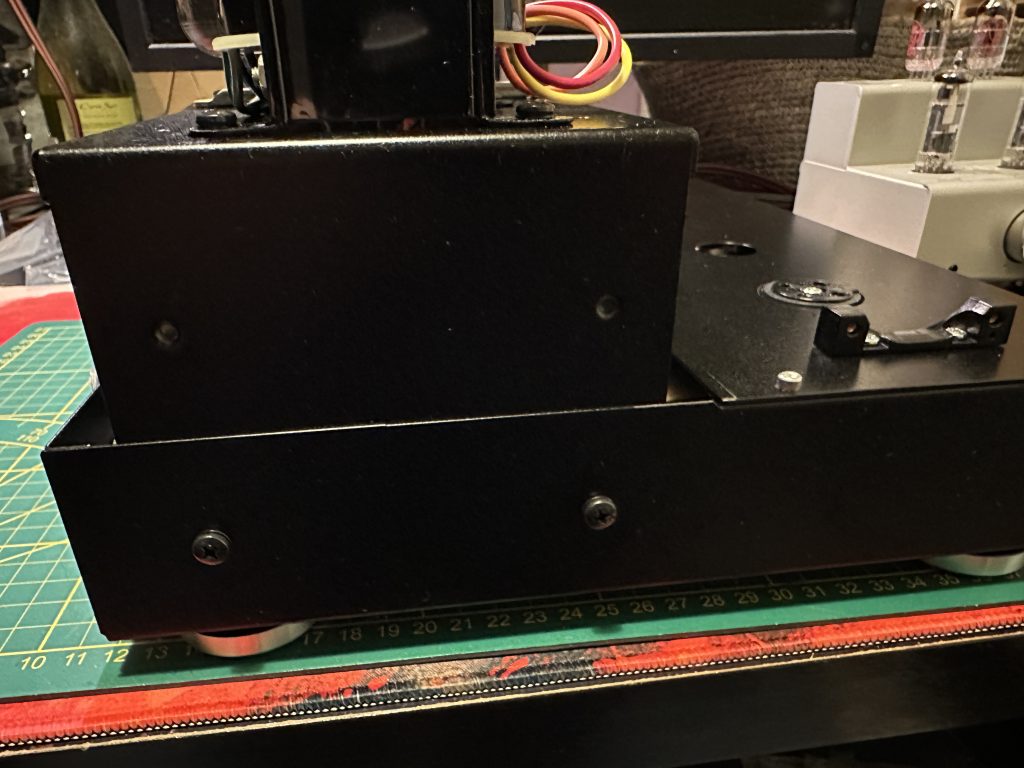
The transformer frame is finally screwed in place.
Now, place the transformer cover on top and screw it on the sides using the same screws as the frame.
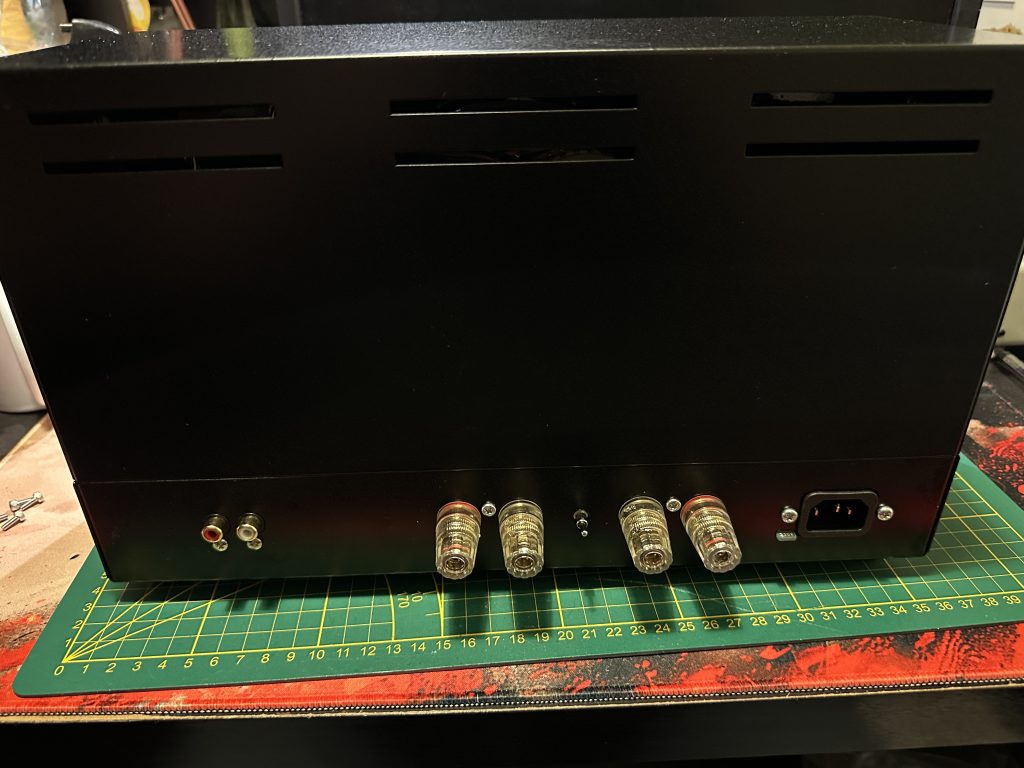
View from the back of the fully enclosed amplifier.
The final touches are left. We push the volume knob onto the protruding shaft. The shaft is flattened on one side, and the knob has a properly shaped hole, so it can only be mounted in one way.
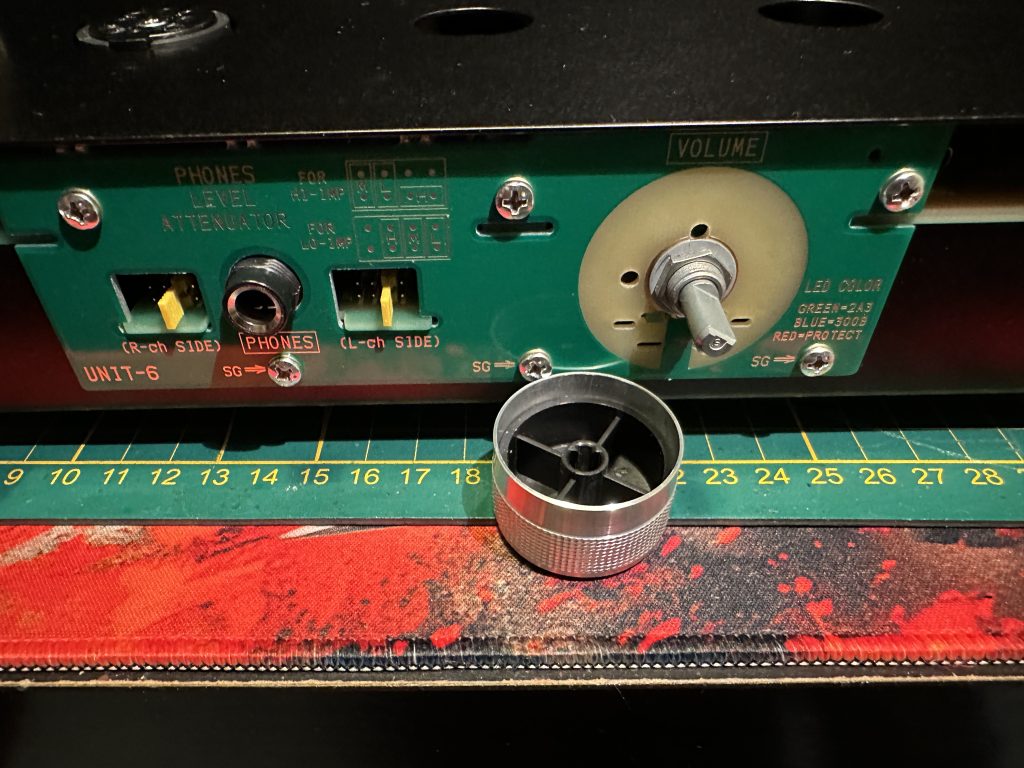
The volume potentiometer knob.
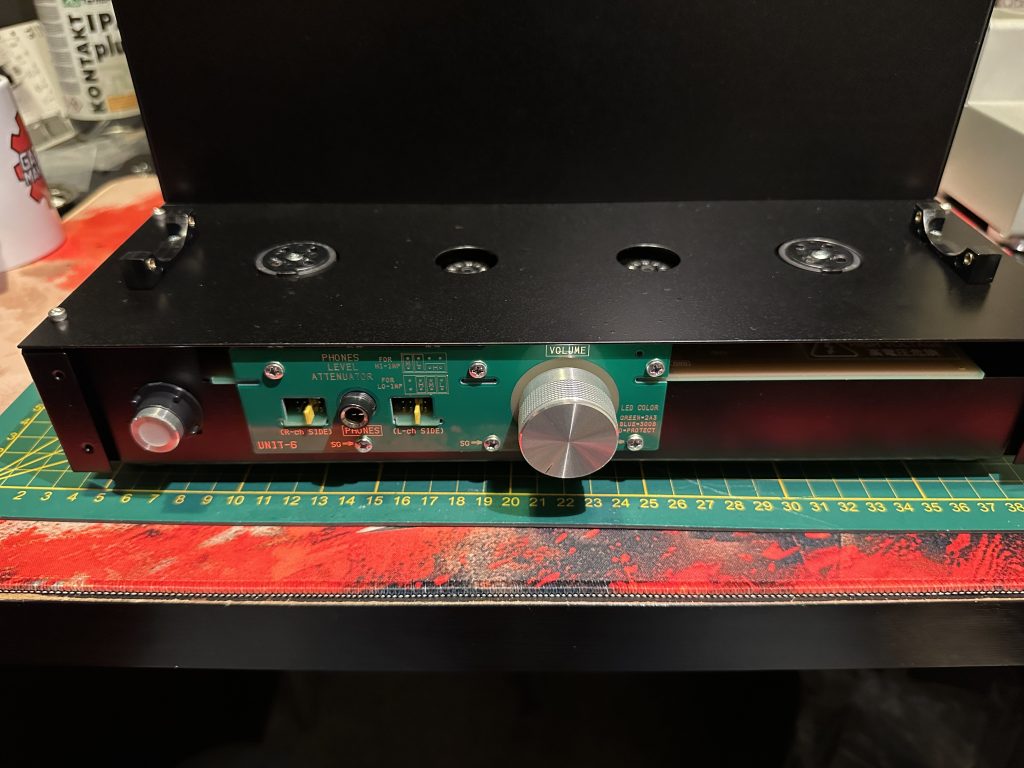
The potentiometer knob pressed into place.
The final step is to attach the front panel. Secure it with four M3x8 hex screws from the front. Then, just reinstall the tubes, turn on the amplifier, and… fanfare! Congratulations, you’ve just completed the assembly of your tube amplifier!
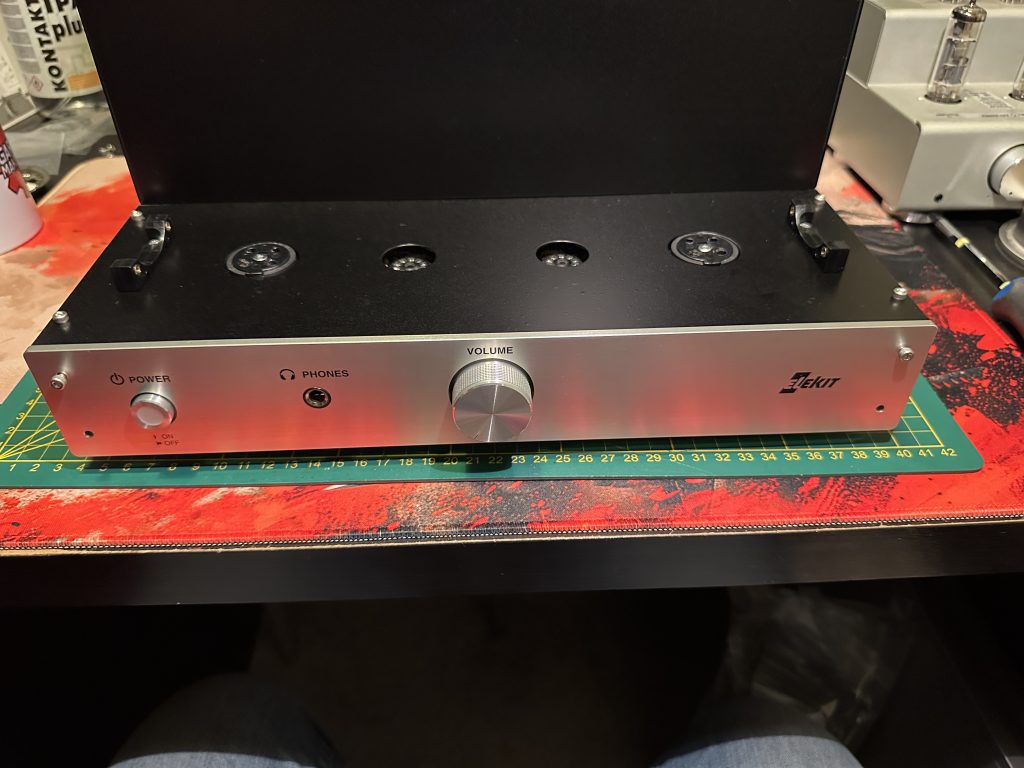
We screw in the final screws securing the front panel.
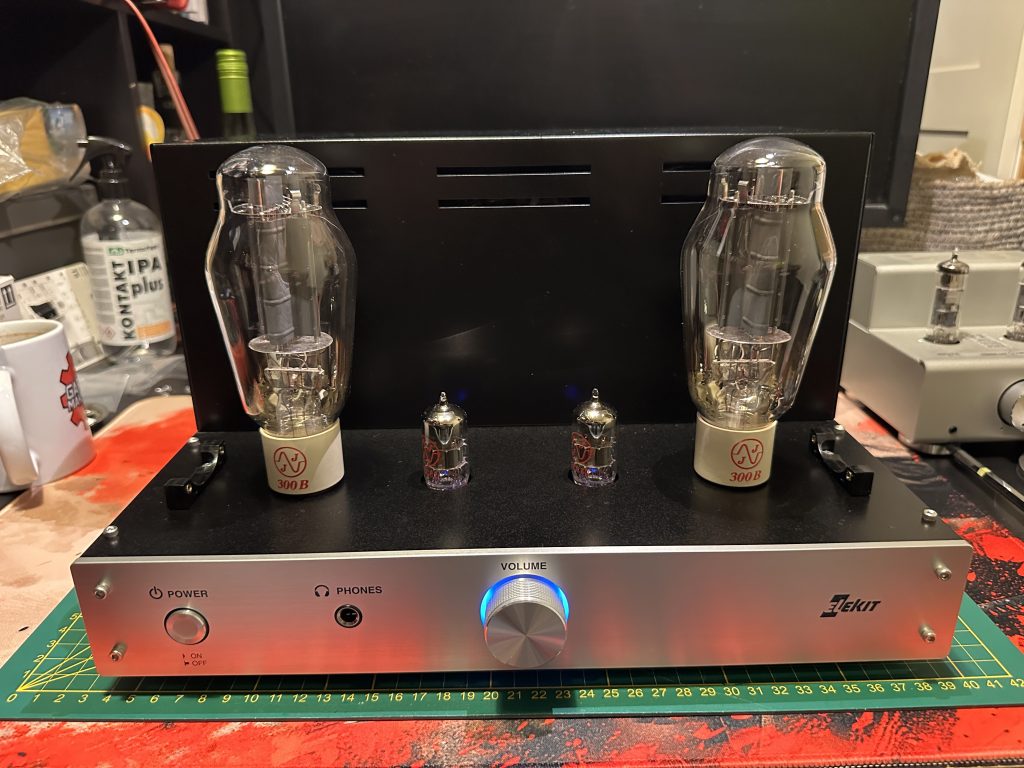
View of the completed amplifier 🙂
I wrote that it’s the end, but we actually forgot one thing – the protective cage for the tubes. Well, I’ll leave that to you 🙂 Partly because I personally almost never use these cages – I don’t like them visually, I prefer the amplifier without them. And partly because the 300B JJ Electronic tubes we used are a bit too tall, so the cage can’t be placed with them. Other tubes are shorter, and in that case, the cage fits perfectly.
Regardless of whether you use the cage or not, all that’s left now is to clean up, place the amplifier in its designated spot, and listen, listen, listen… Remember, a new amplifier and new tubes need a bit of time before they show their full potential. The best thing to do is simply listen and rediscover your favorite albums. The sound will subtly change as you continue to listen, and while it should already sound great from the start, over time, it will mature and enchant you more and more.
I also recommend reading pages 20-23 of the assembly manual. In addition to safety issues and potential diagnostics, you’ll learn about what and how you can change in your amplifier to achieve an even better or different sound. Above all, you can change the power tubes. There are some who claim that 2A3 tubes sound better, or even if not, they certainly sound different – now you can find out for yourself because the amplifier is capable of detecting the type of tube and adjusting its operating parameters accordingly. This is something that used to be done manually, and few people were able to do it well. But now, you can simply swap the tube, and that’s it. The same applies to the driver tubes ECC82 (12AU7, 12BH7A), whose various versions and designs are widely available on the market, and changing them will also impact the amplifier’s sound. Of course, there’s no obligation to try such combinations, but if you catch the bug, your adventure with tube amplifiers has only just begun!
At the end, here are a few shots of different details of the amplifier… damn, it looks great 🙂
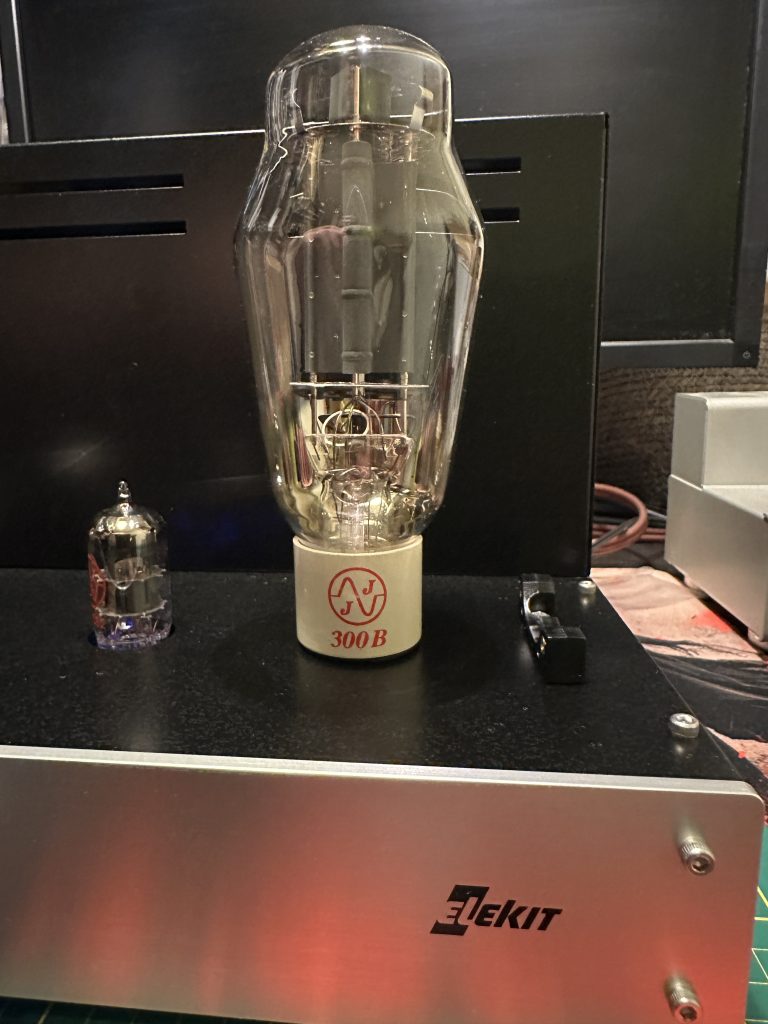
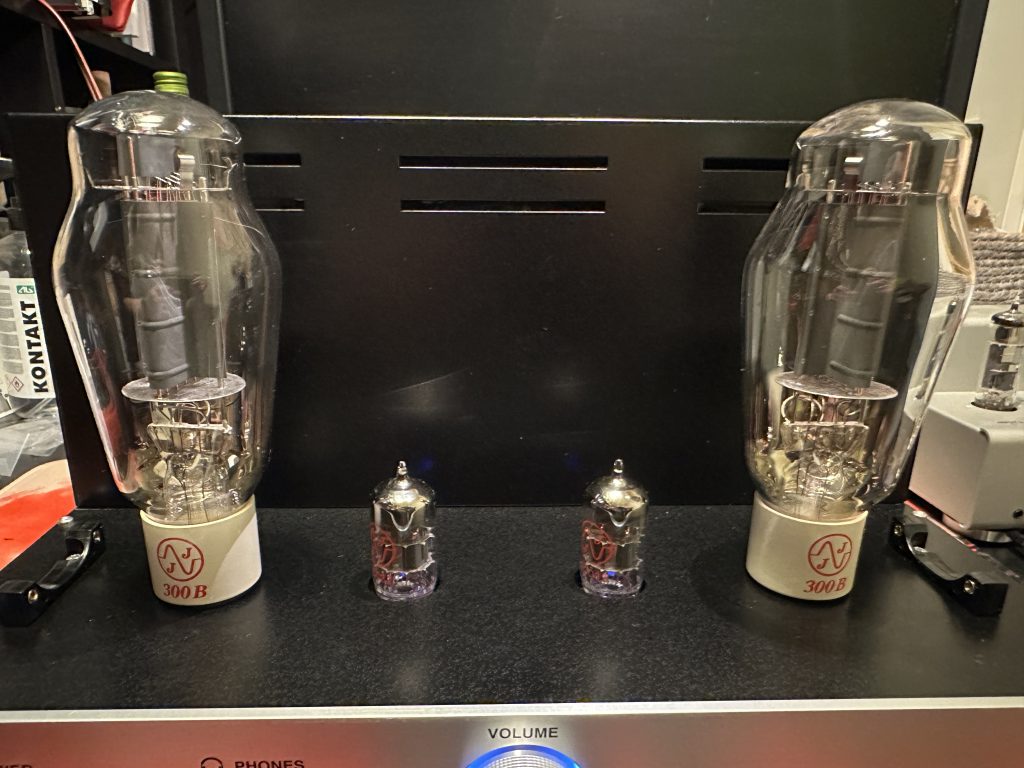
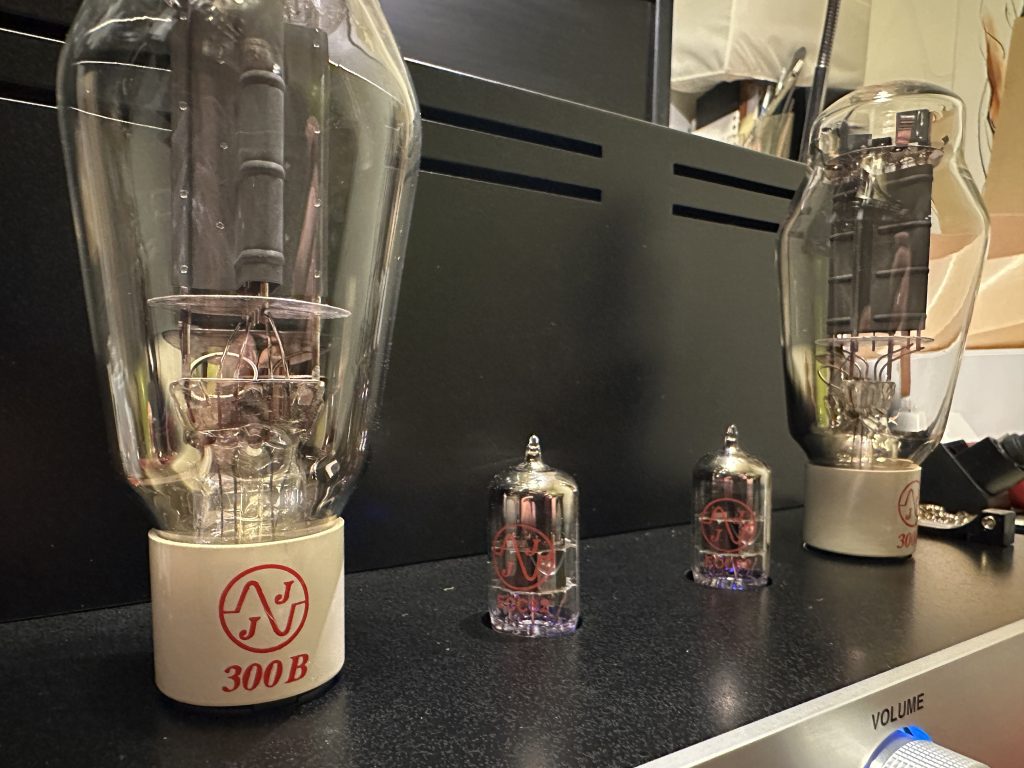
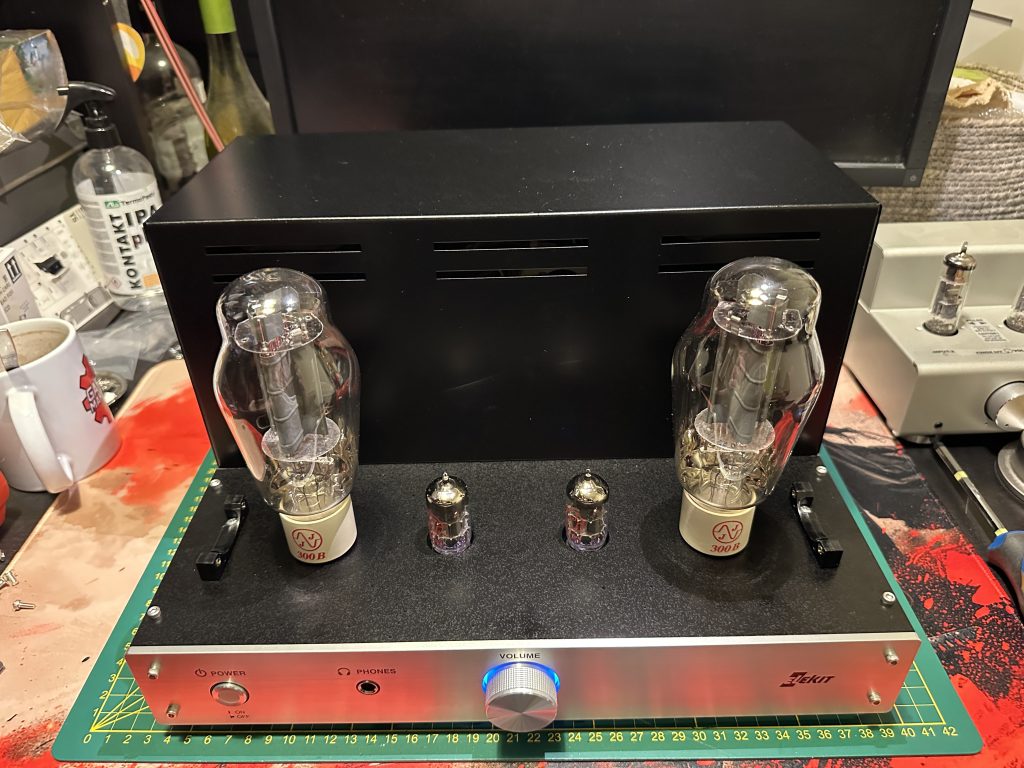
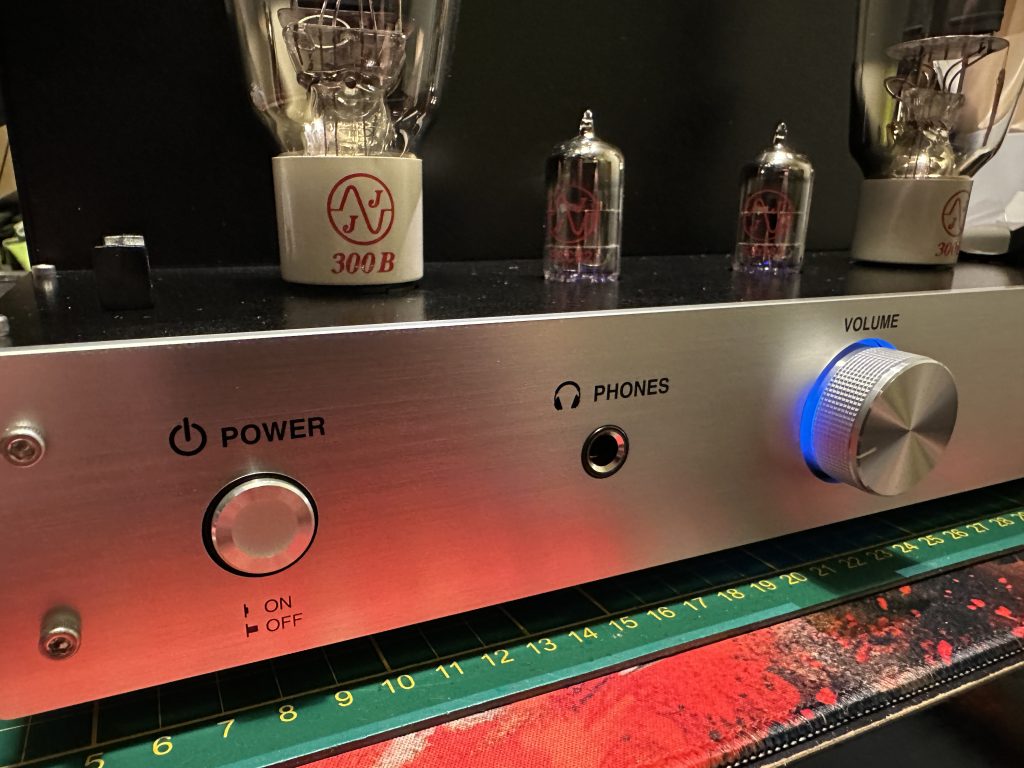
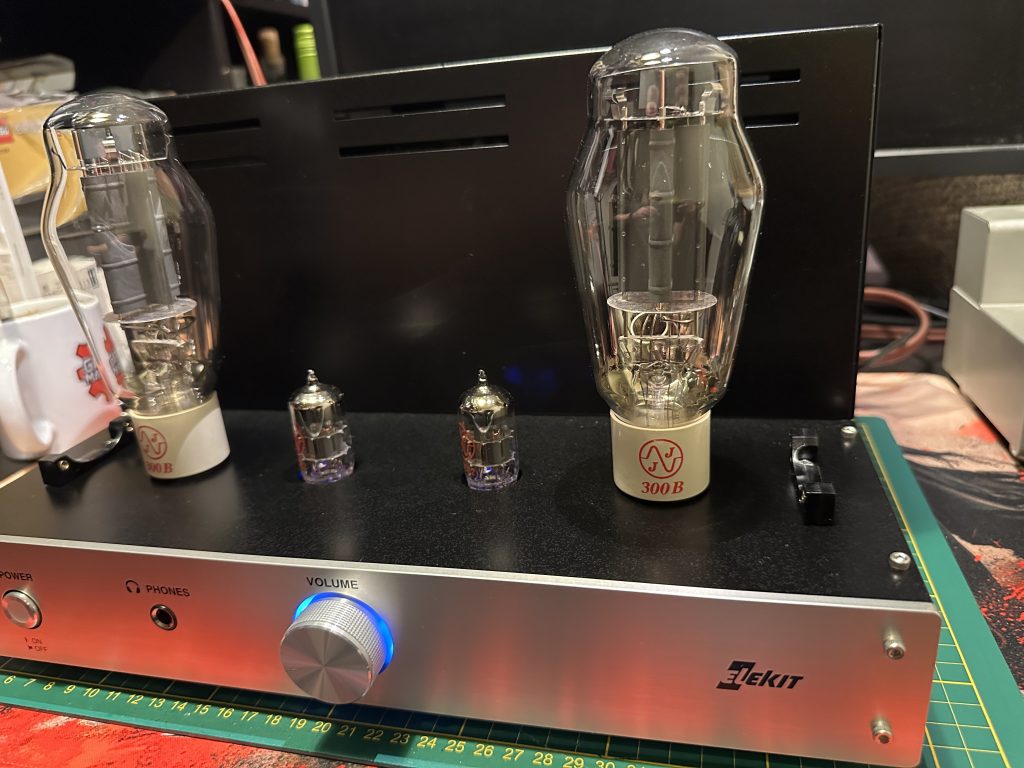
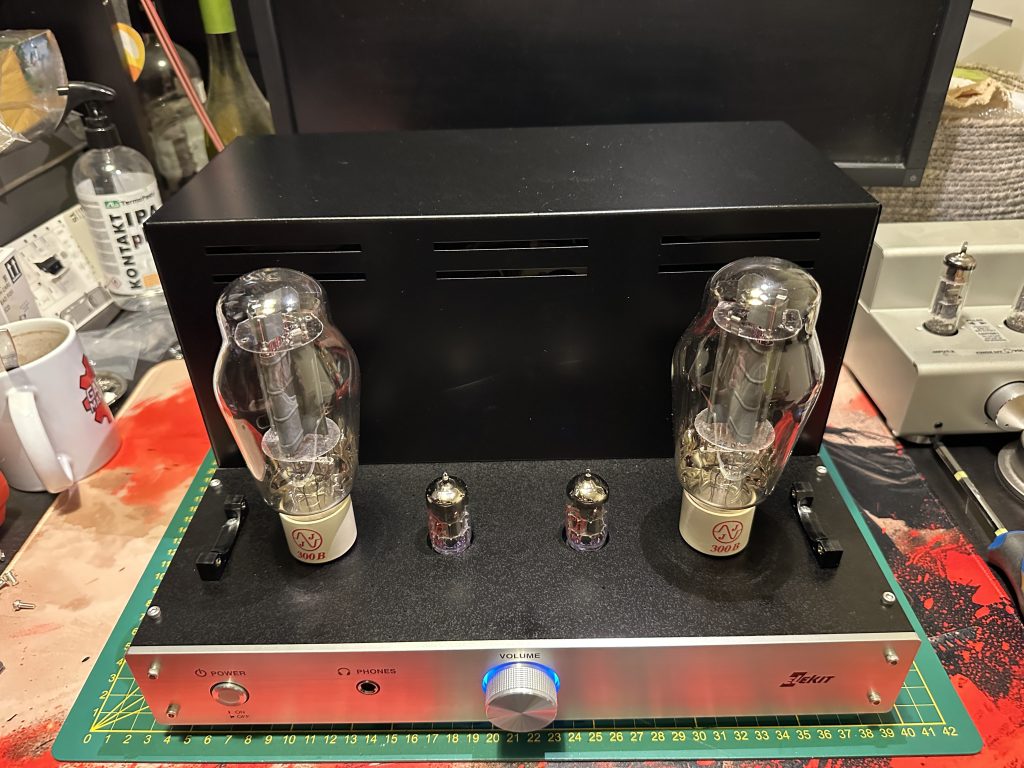
The amplifier featured in this series is available as a DIY kit from the Japanese company EK Japan (ELEKIT), under the name Elekit TU-8900. The company also offers other amplifiers and preamplifiers working in different configurations and based on other tubes, but they all share the Japanese attention to detail, ease of assembly, and very high sound quality, appreciated by audiophiles worldwide.
Assembling this kit takes an experienced person one day, but you absolutely don’t need to rush. Assemble at your own pace and for your own enjoyment. Good luck!

You must be logged in to post a comment.